
62/64” DEFLEX / REFLEX FORM BUILD
QUESTIONS? EMAIL >>>>-------------------> kennym@grm.net
Or call Kenny at 660 734 2113 (best at 4-7 pm Central Time)
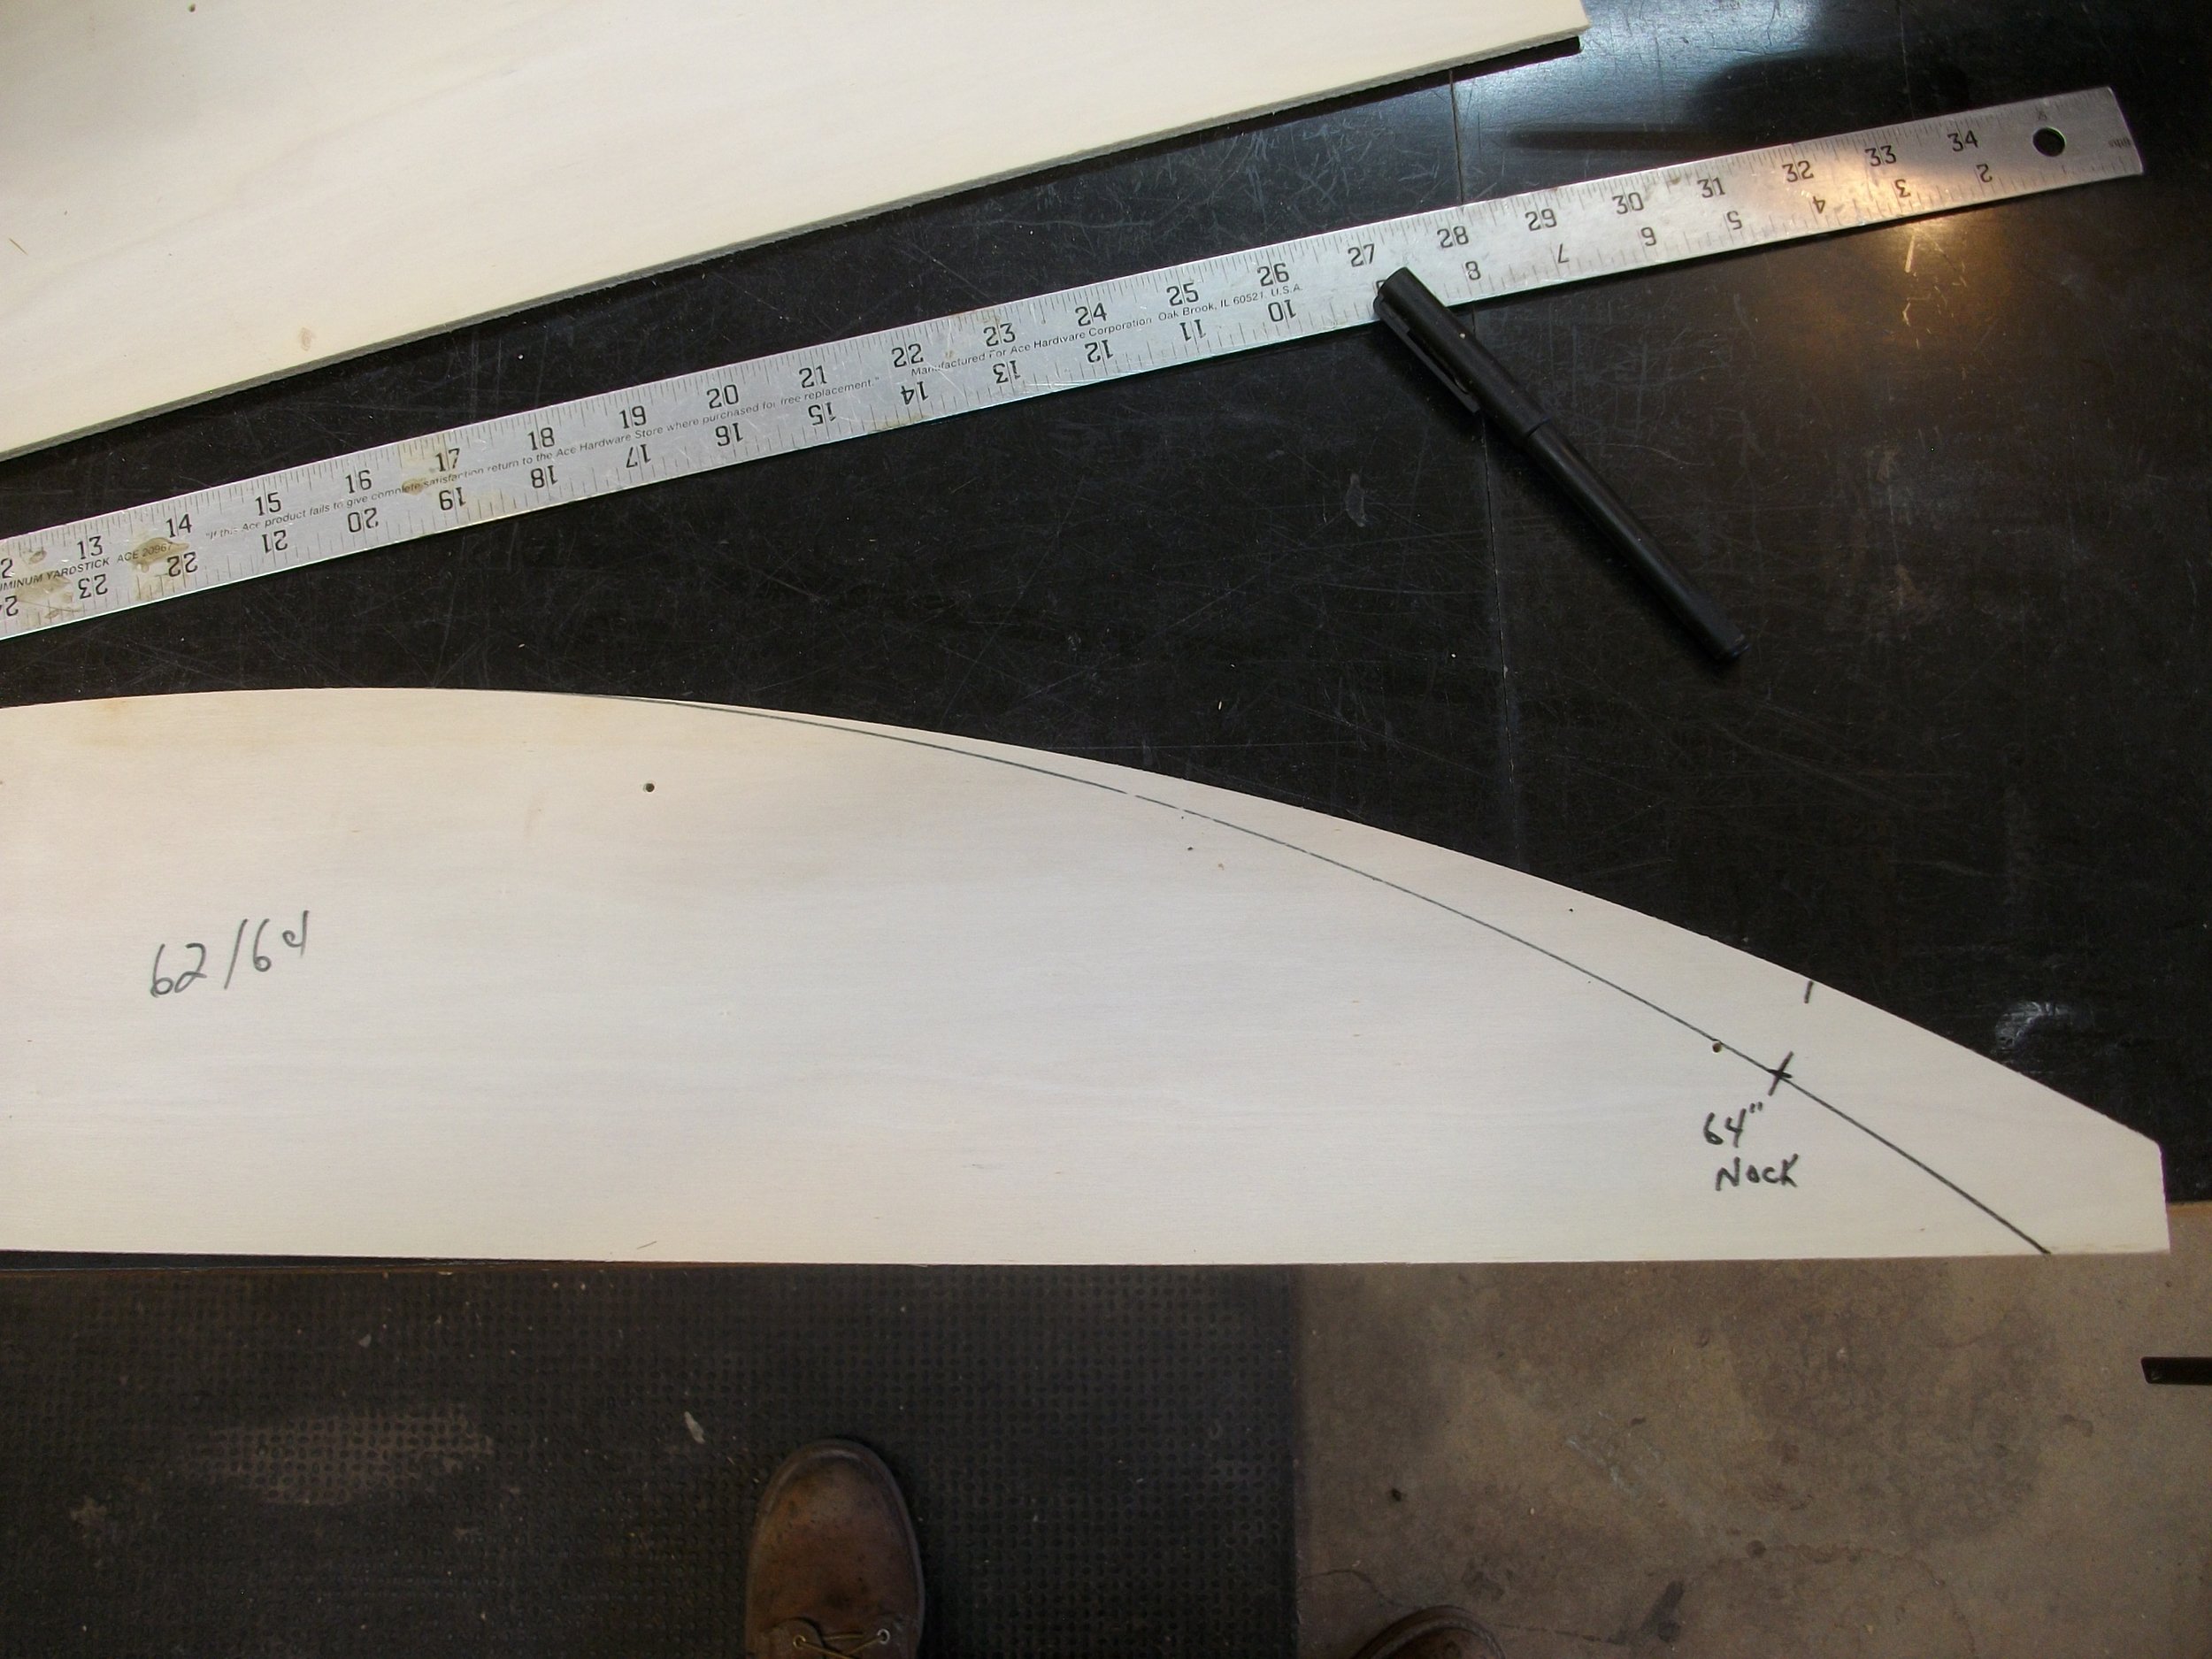
For the form, I took a template from the kennym 62/64" bow and added an inch of reflex to the tip blending back in midlimb. Been thinking about this for about 5 years, should be long enuff...
Now bend a fairly stiff but flexible piece around it to make sure no dips or humps. They will show up in the bow if you don't get them out. I had to work on the template a bit for one flat spot. Used a long sanding block.
Easier to sand the 1/4" template than the 1.5" thick form...
Now to the table saw and rip a pc of 3/4" AB plywood into 2 pieces 11.75" wide(so I can get 4 out of sheet)...
Orientation of ply to glue up so the 2 pieces work to straighten each other...

Plywood is never as thick as they sell it to be, so we will add a pc of 1/4" in between, have a plan for being over the 1.5" , more on that when we get there...
>>>>———————————————————>
HIGHLY RECOMMEND GETTING THE RIGHT THICKNESS ON BLANK BEFORE BUILDING FORM.
HEAVY AND A PAIN IN REAR TO HAVE OVER WIDTH.
>>>>———————————————————->

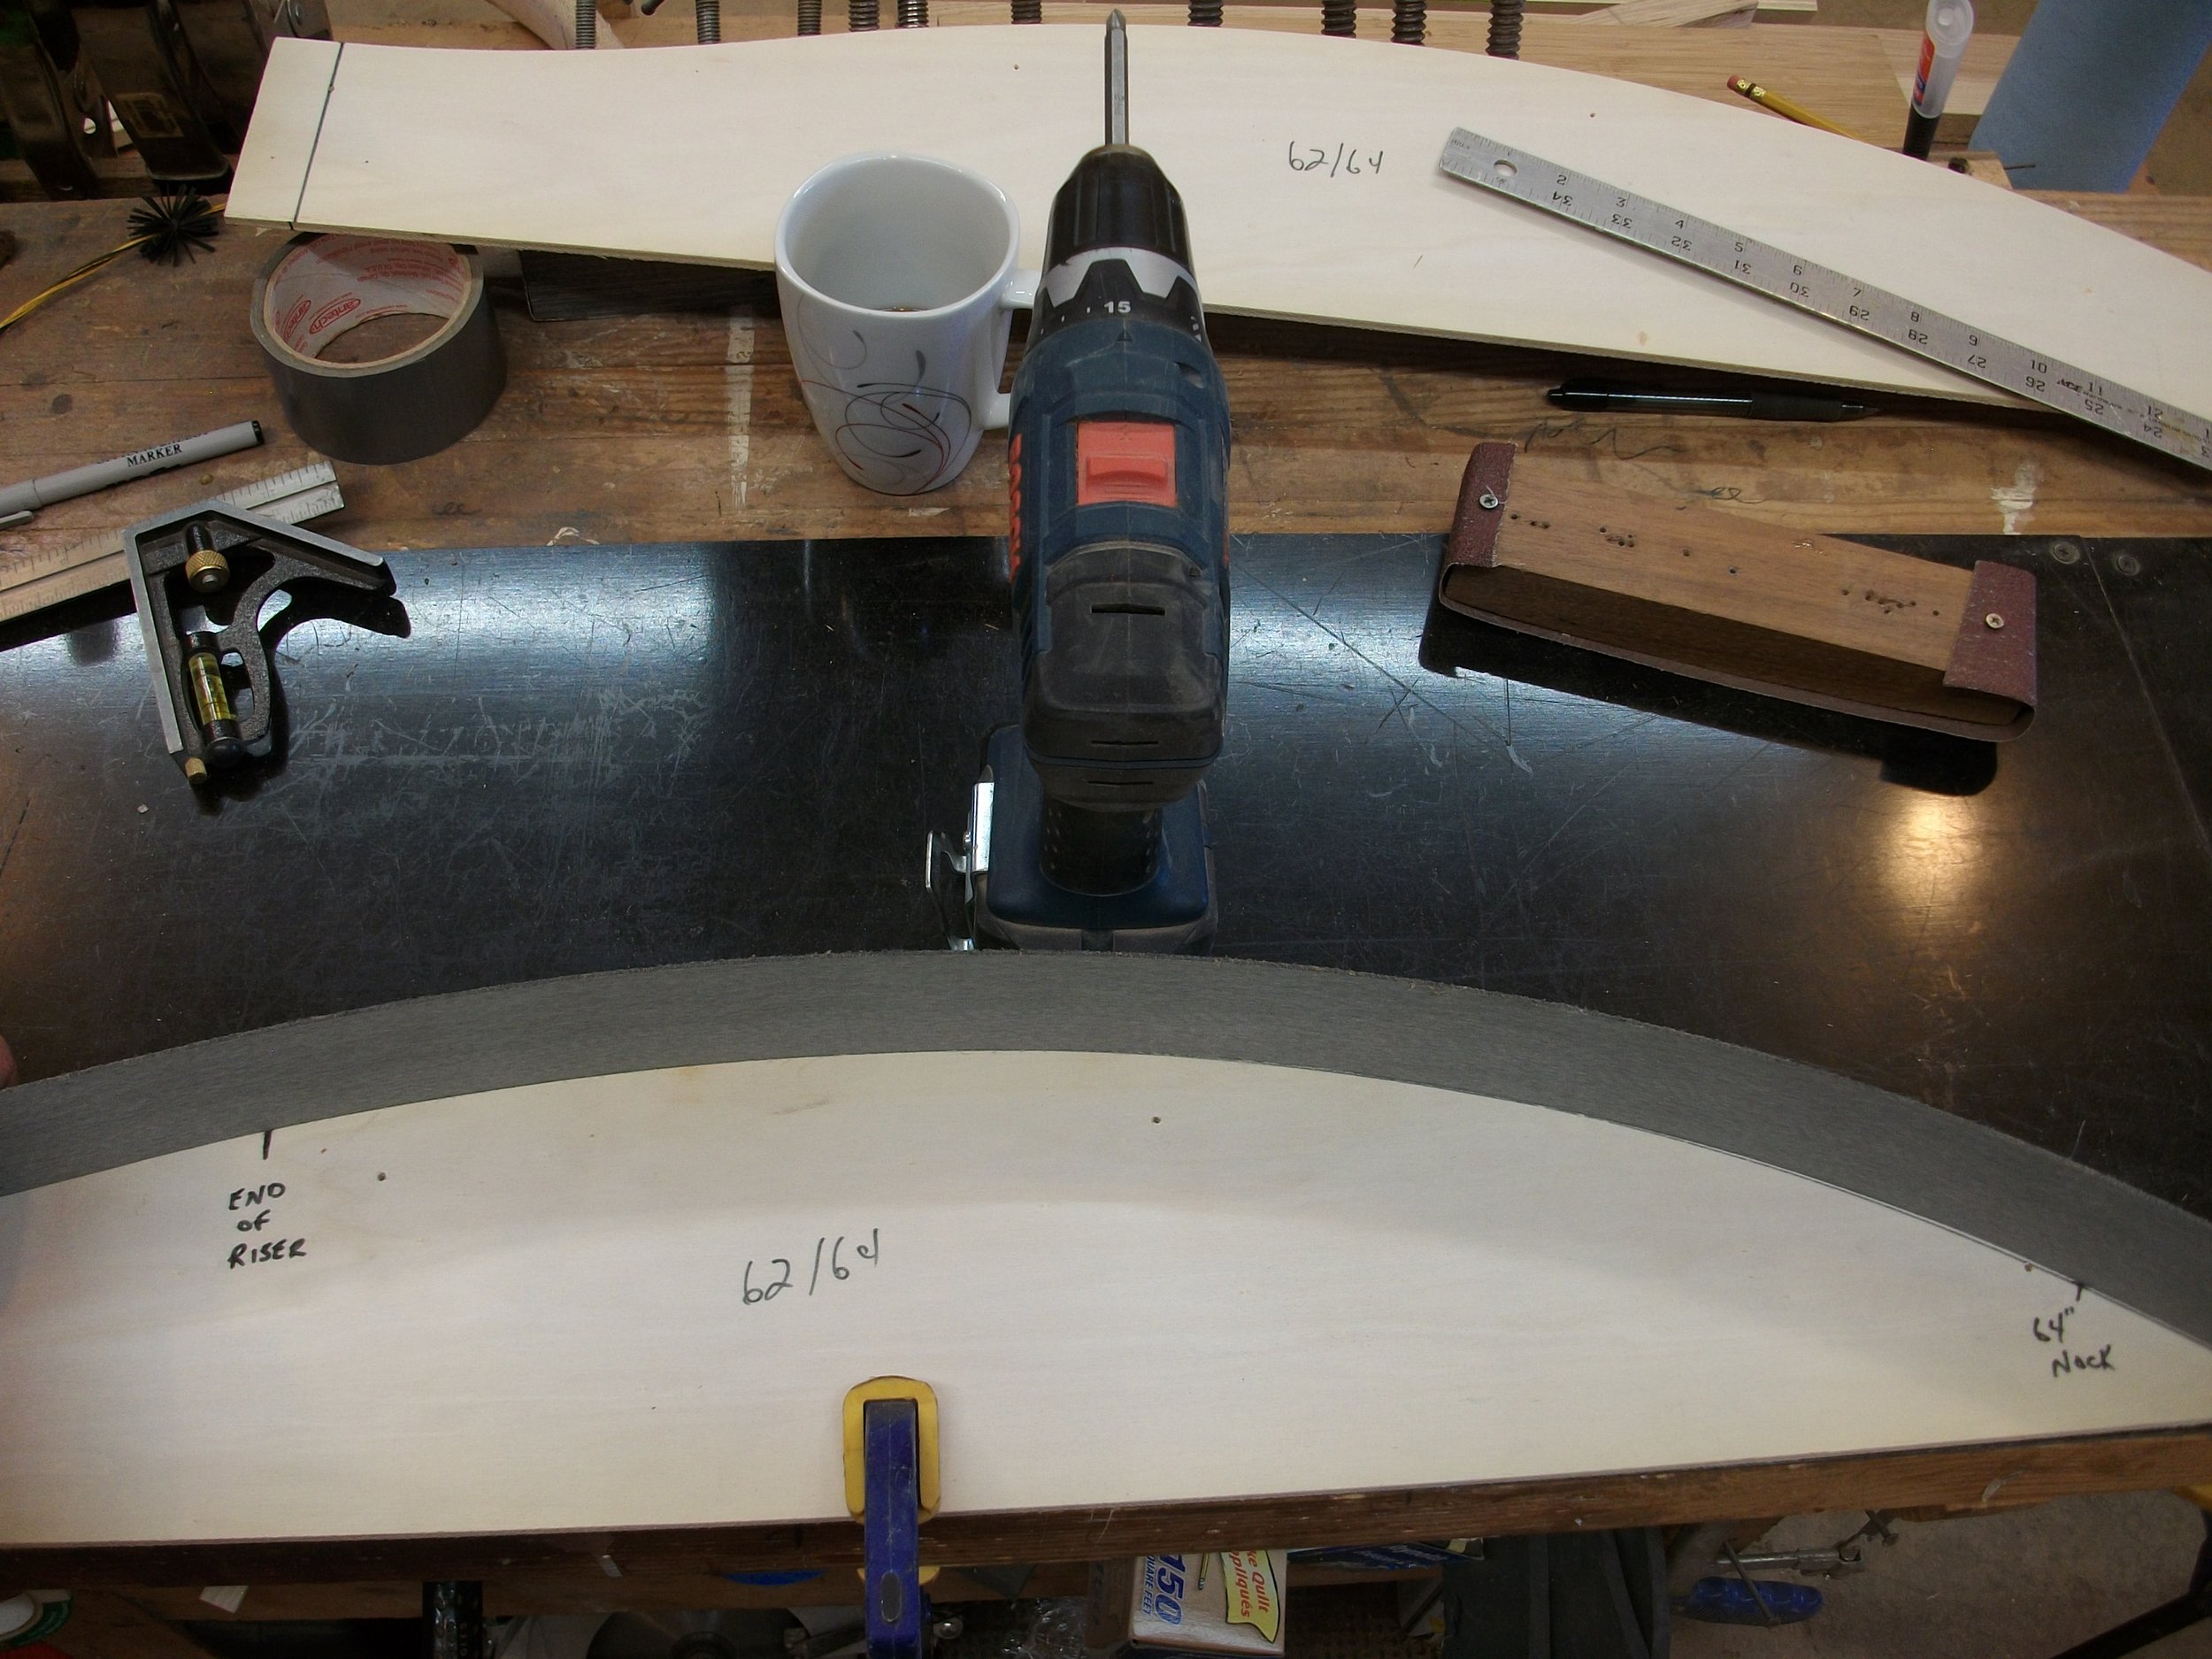
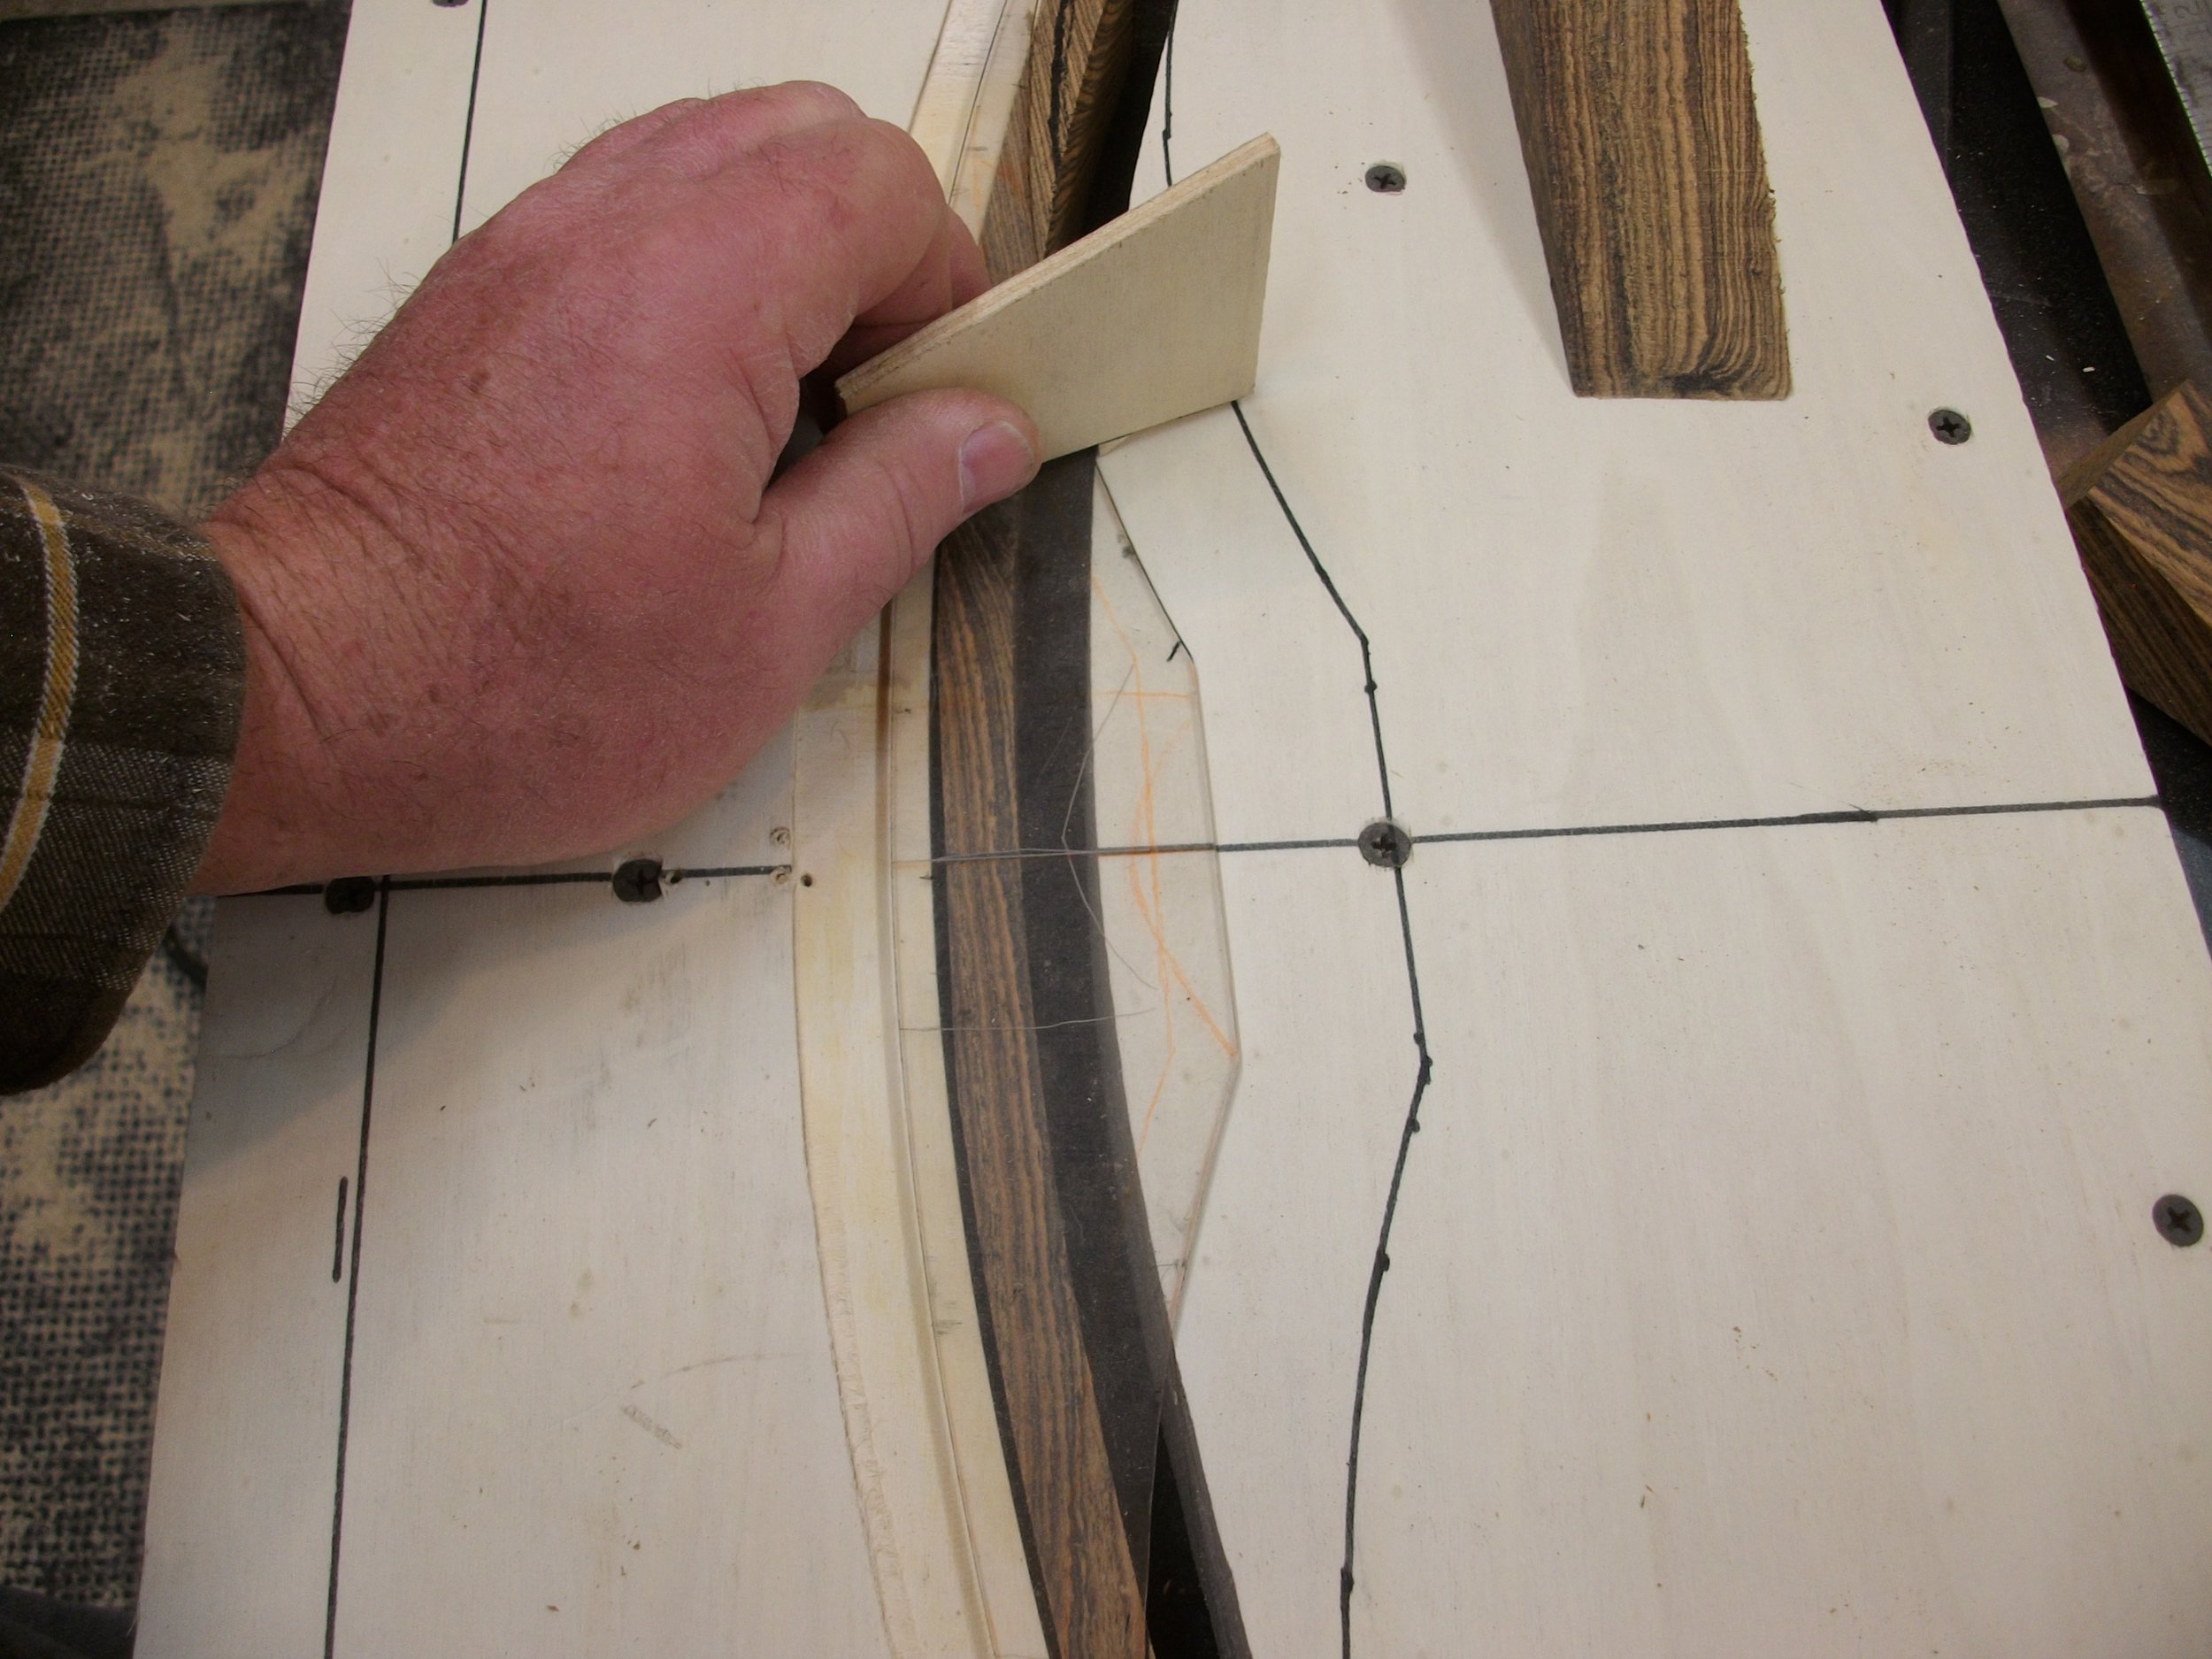
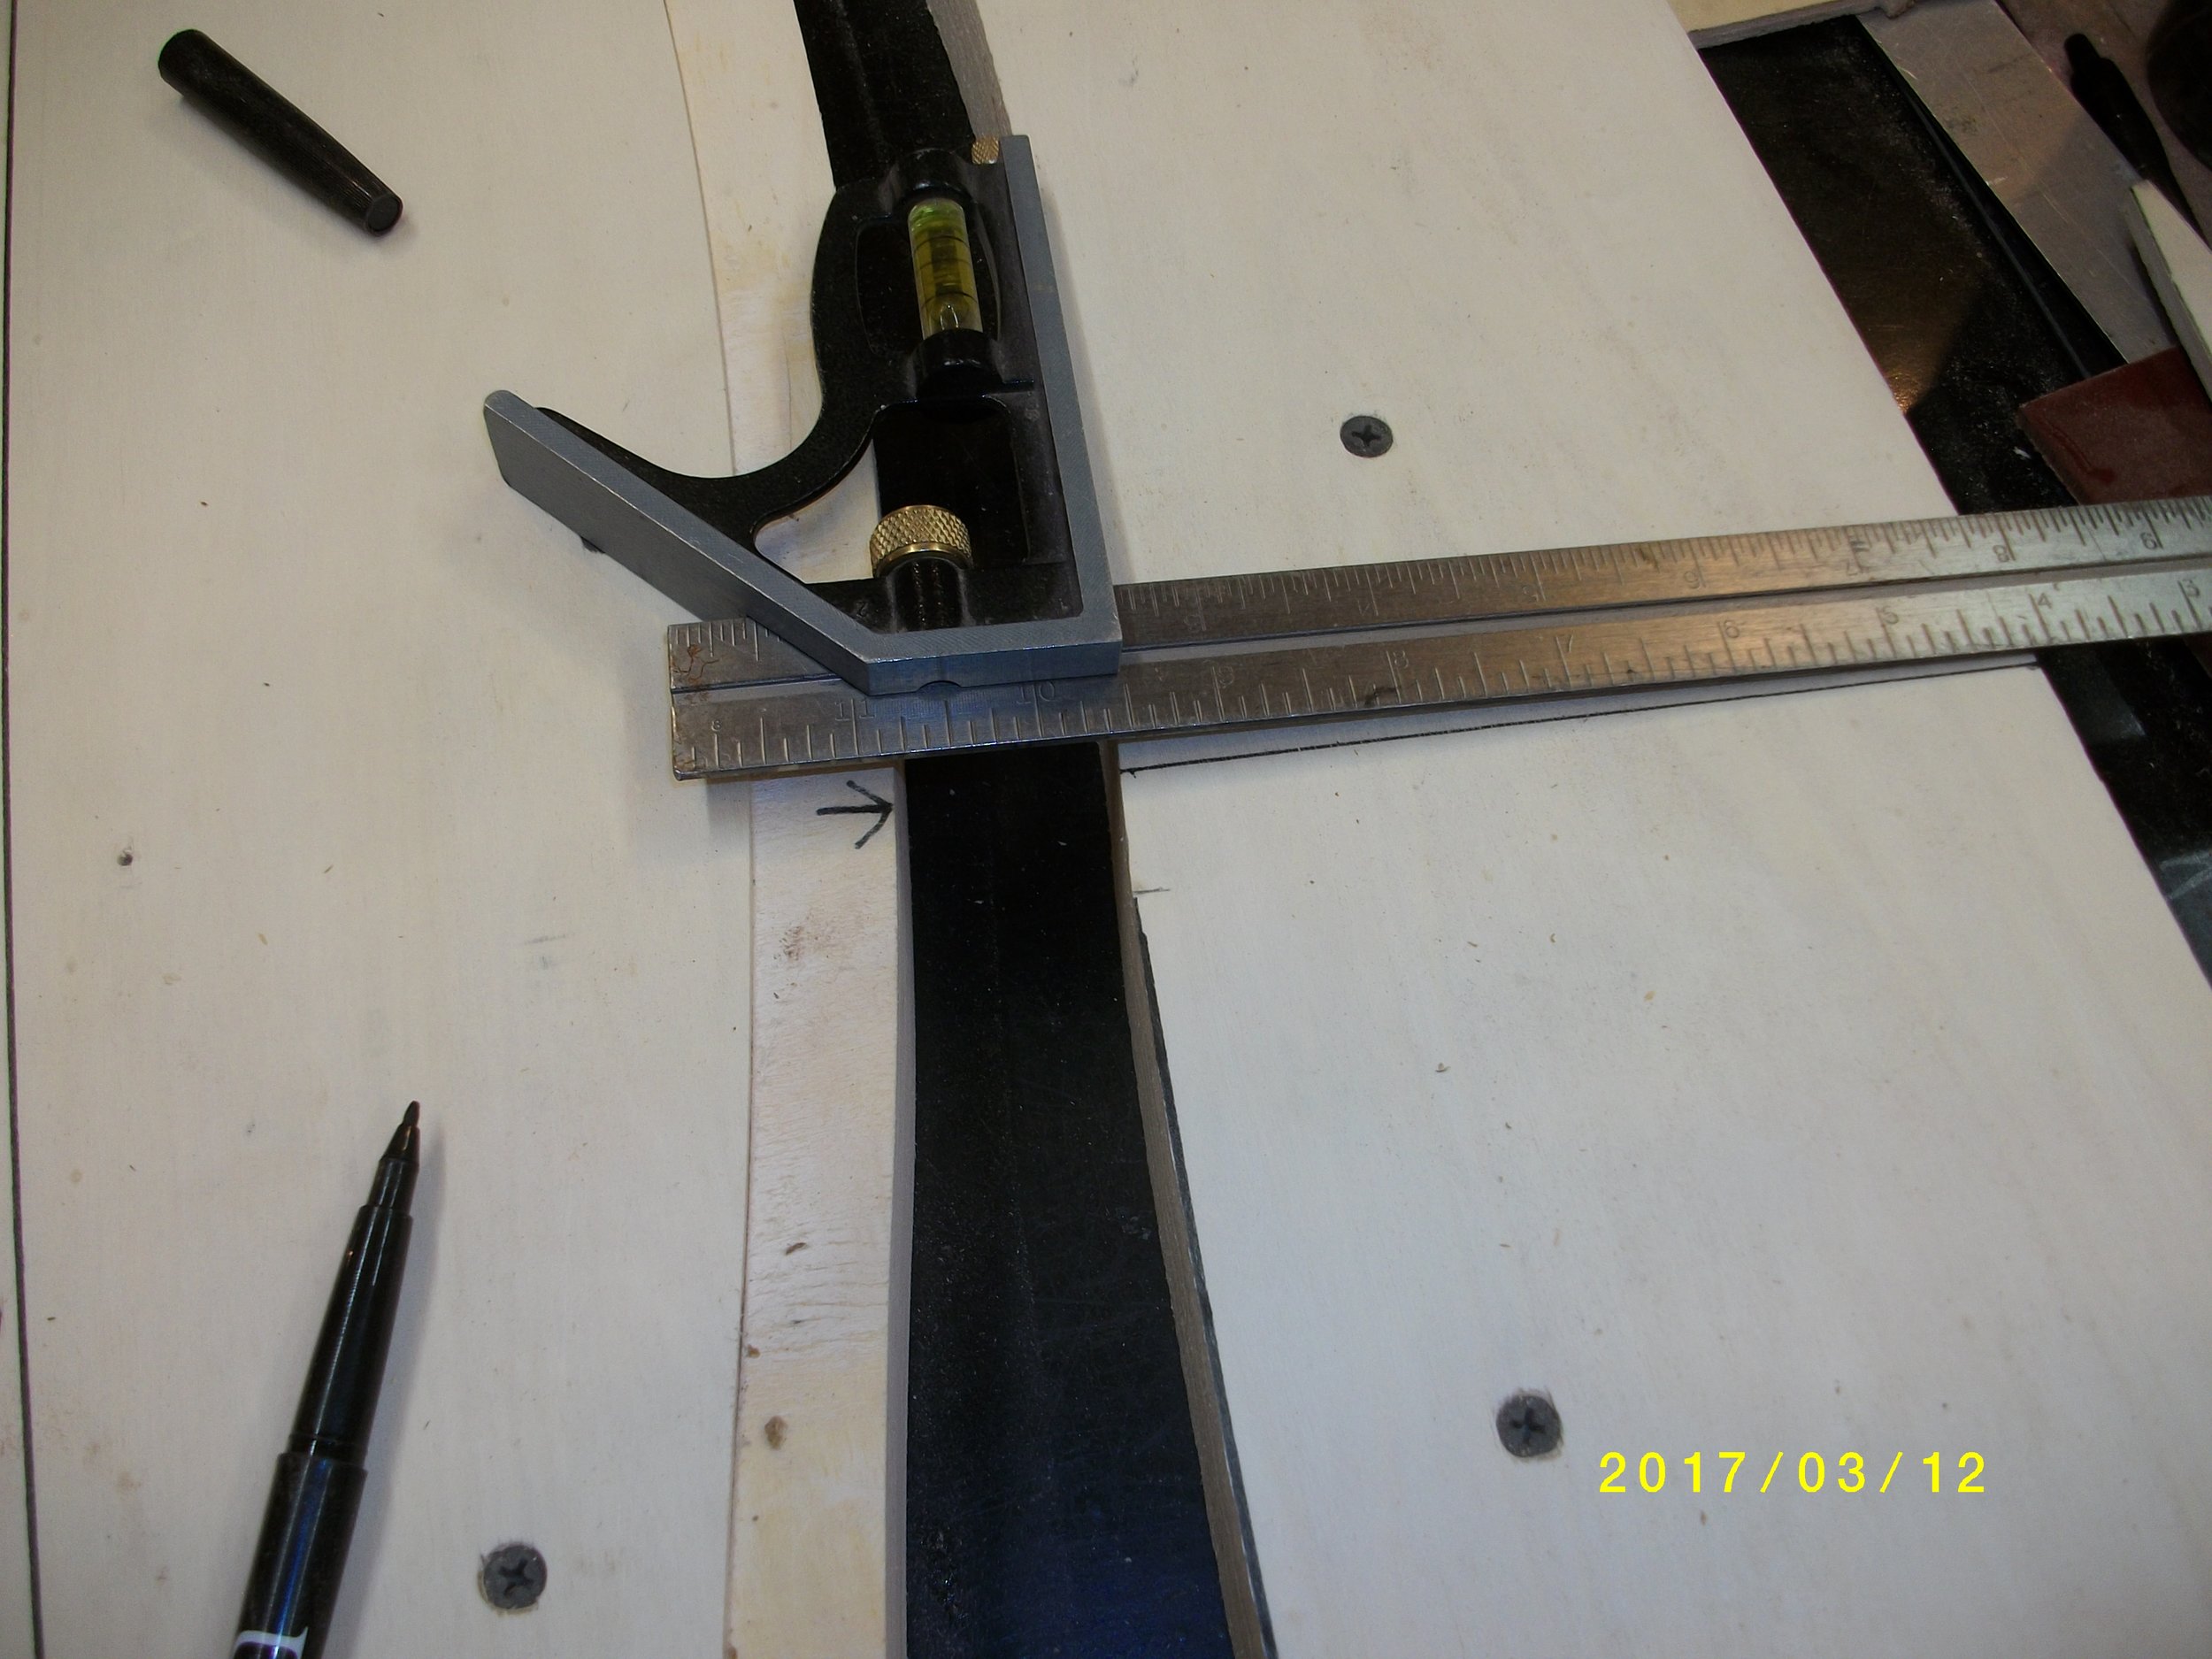
Now I mark out outside of both pcs of outside plywood with the form profile shape so I don't get screws in the way when I saw and rout it..
I mark 1" along bottom so the form ends up with the same amount above and below cut. The center mark goes on center. The template end is an inch past center so the router doesn't dig in at end , you have a place for the guide bearing to be ...
Flip template to other end and mark, LOOK !!! both limbs are identical!! LOL
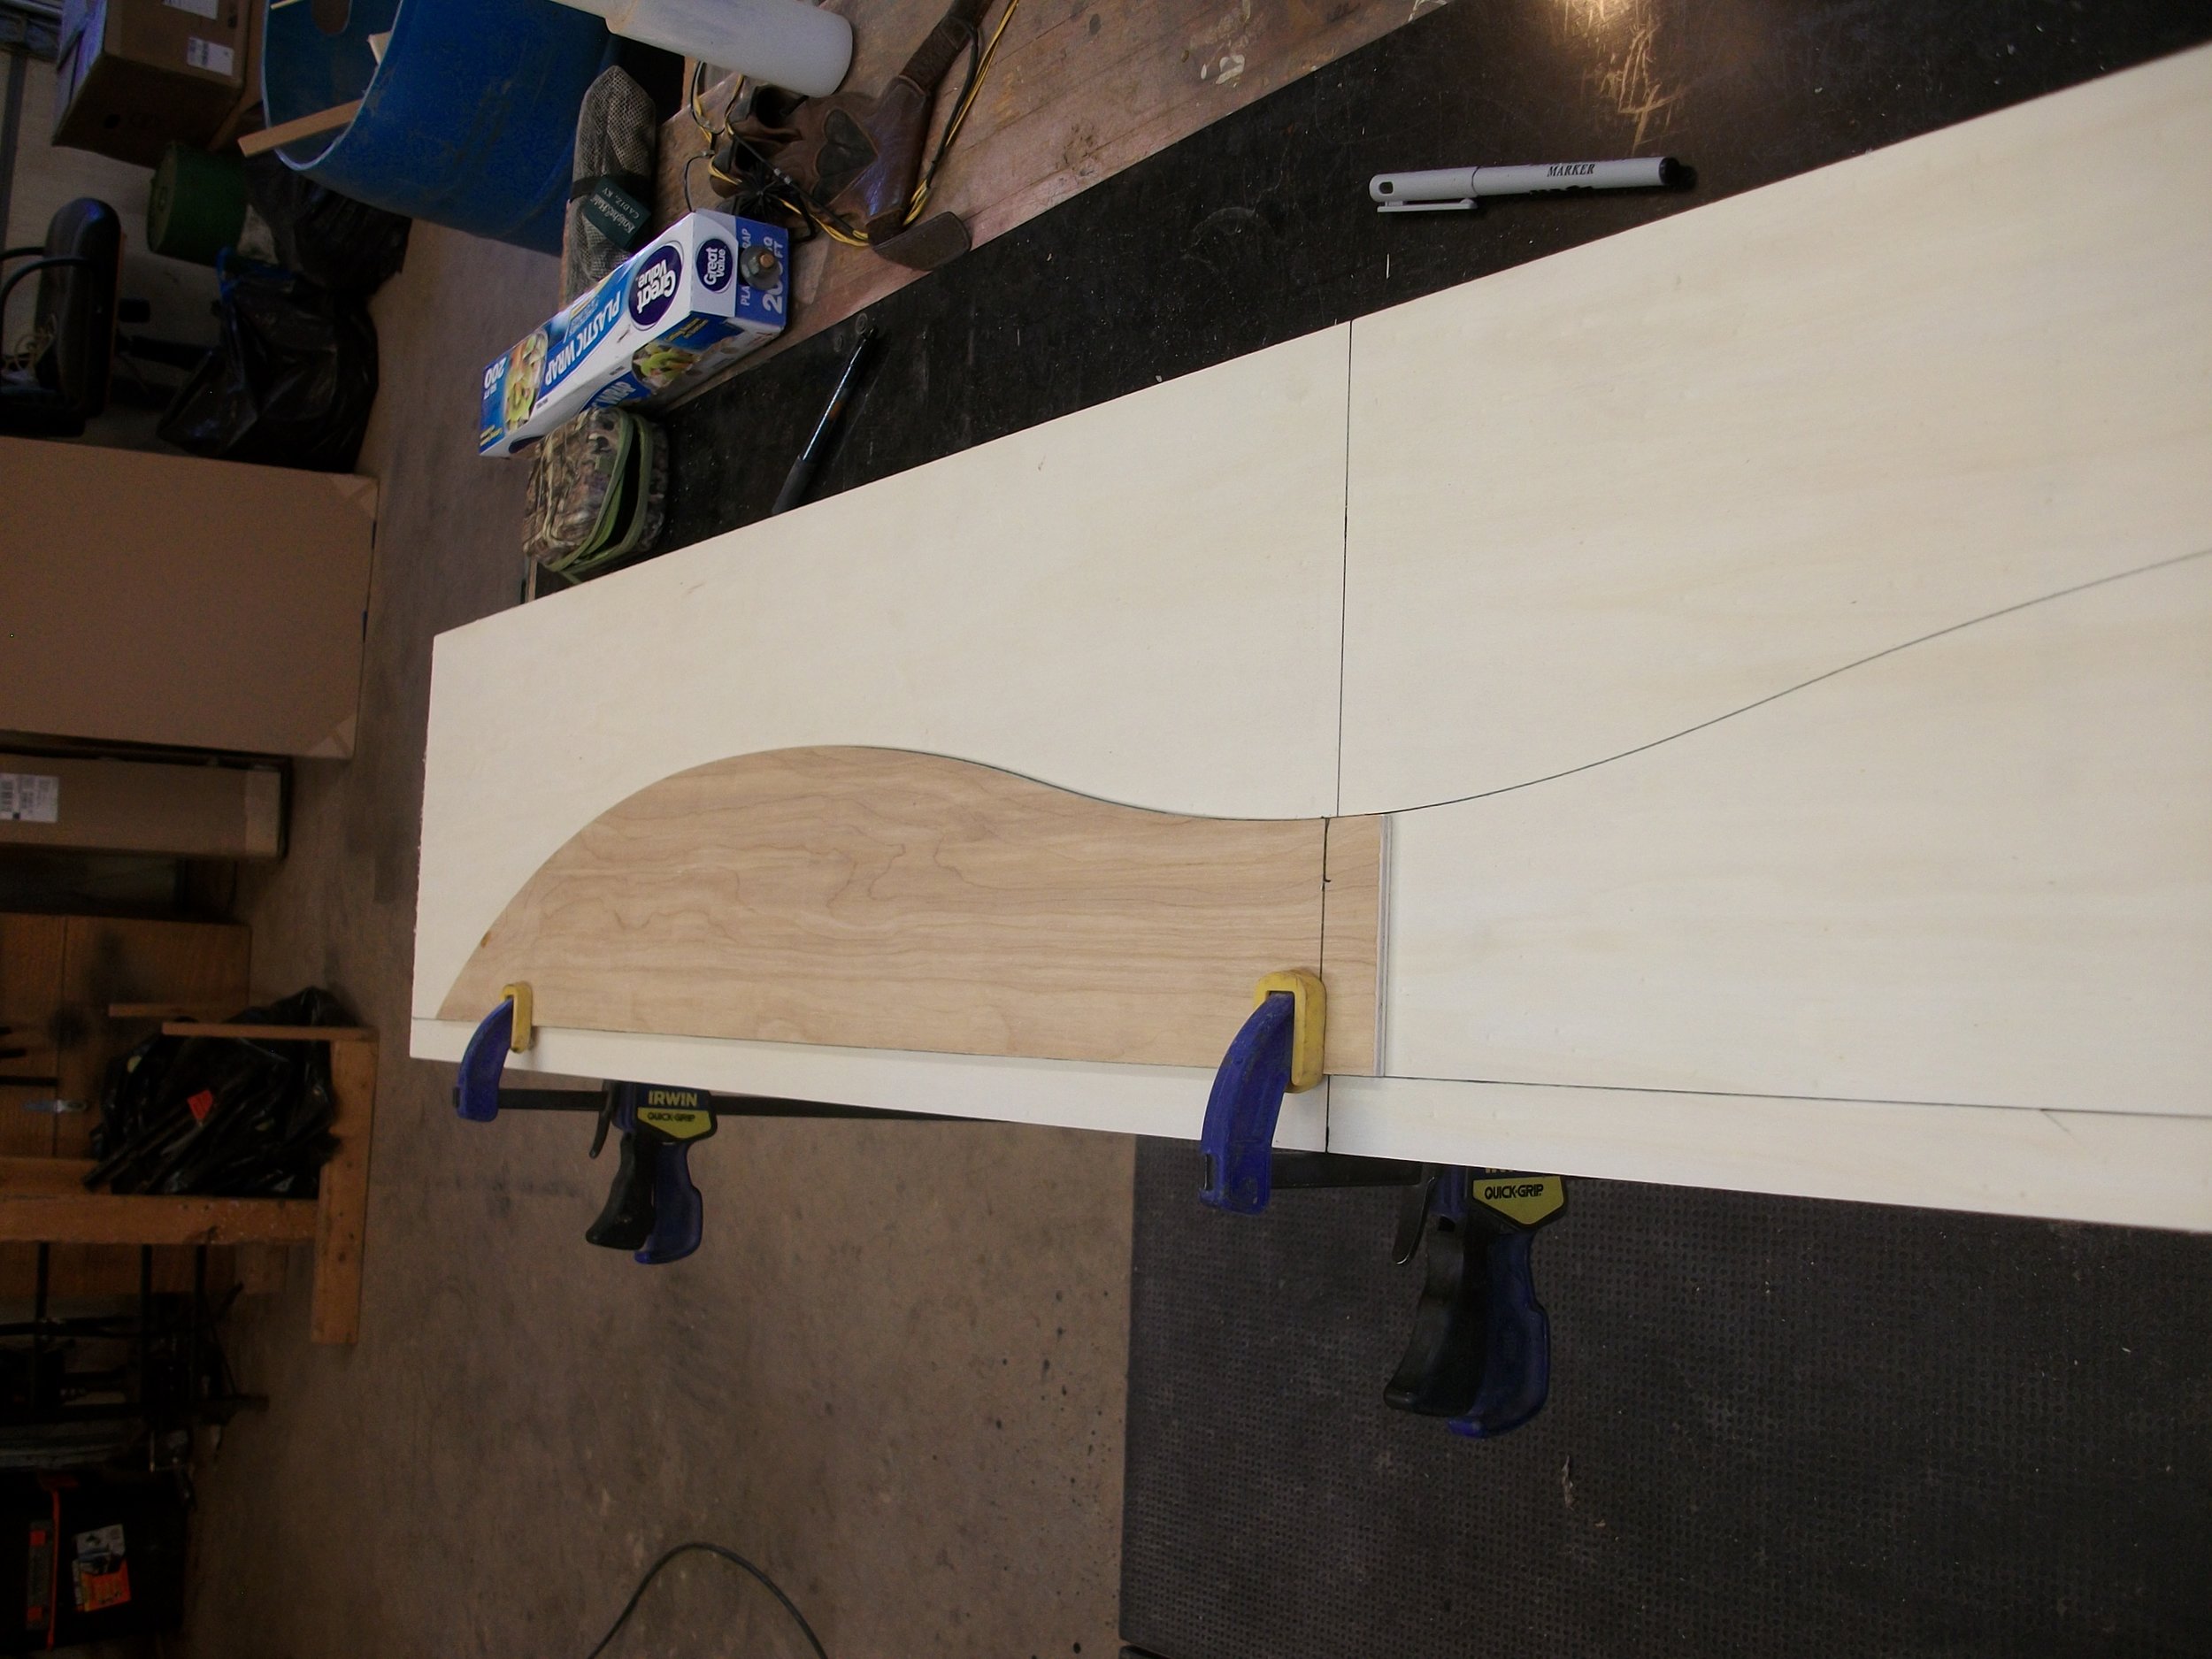
There she is, sexy curves eh???

Now for some glue and screws...


Now before the glue sets, check for straight, this one showed straight end to end, but not corner to corner, so I clamped opposite corners down to bench a bit...

Waiting for glue to dry is about as exciting as watching paint dry!
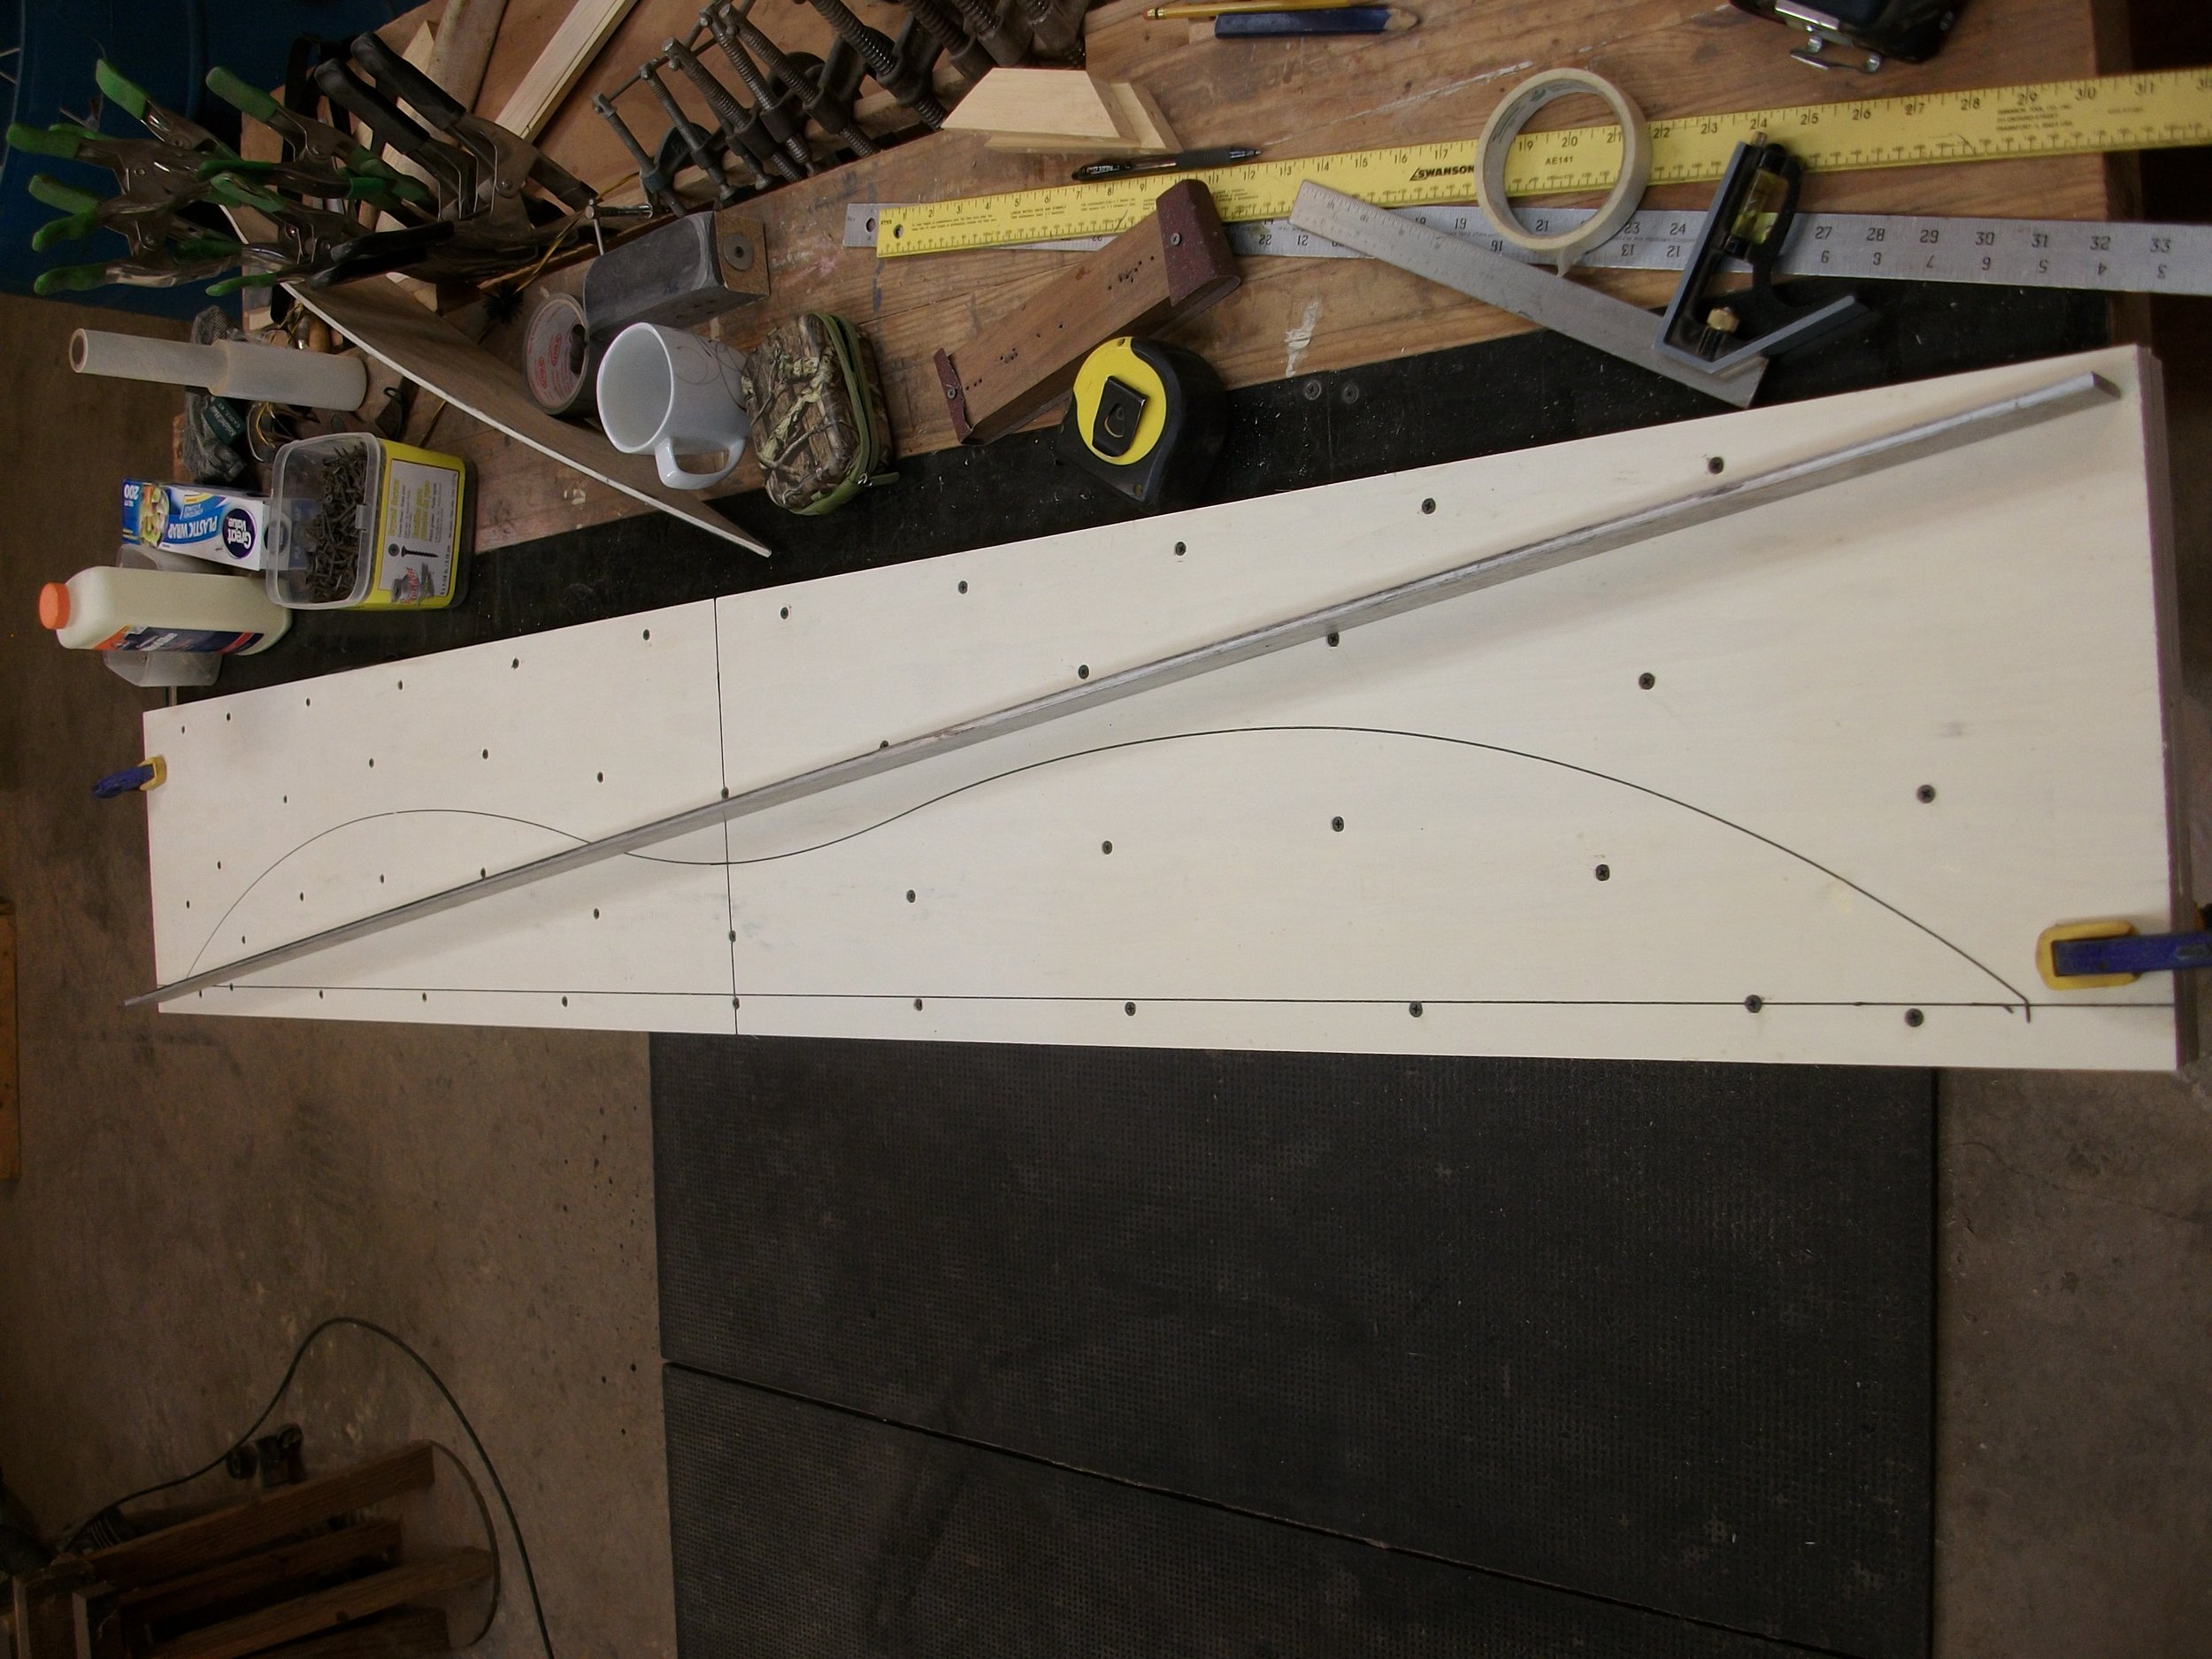
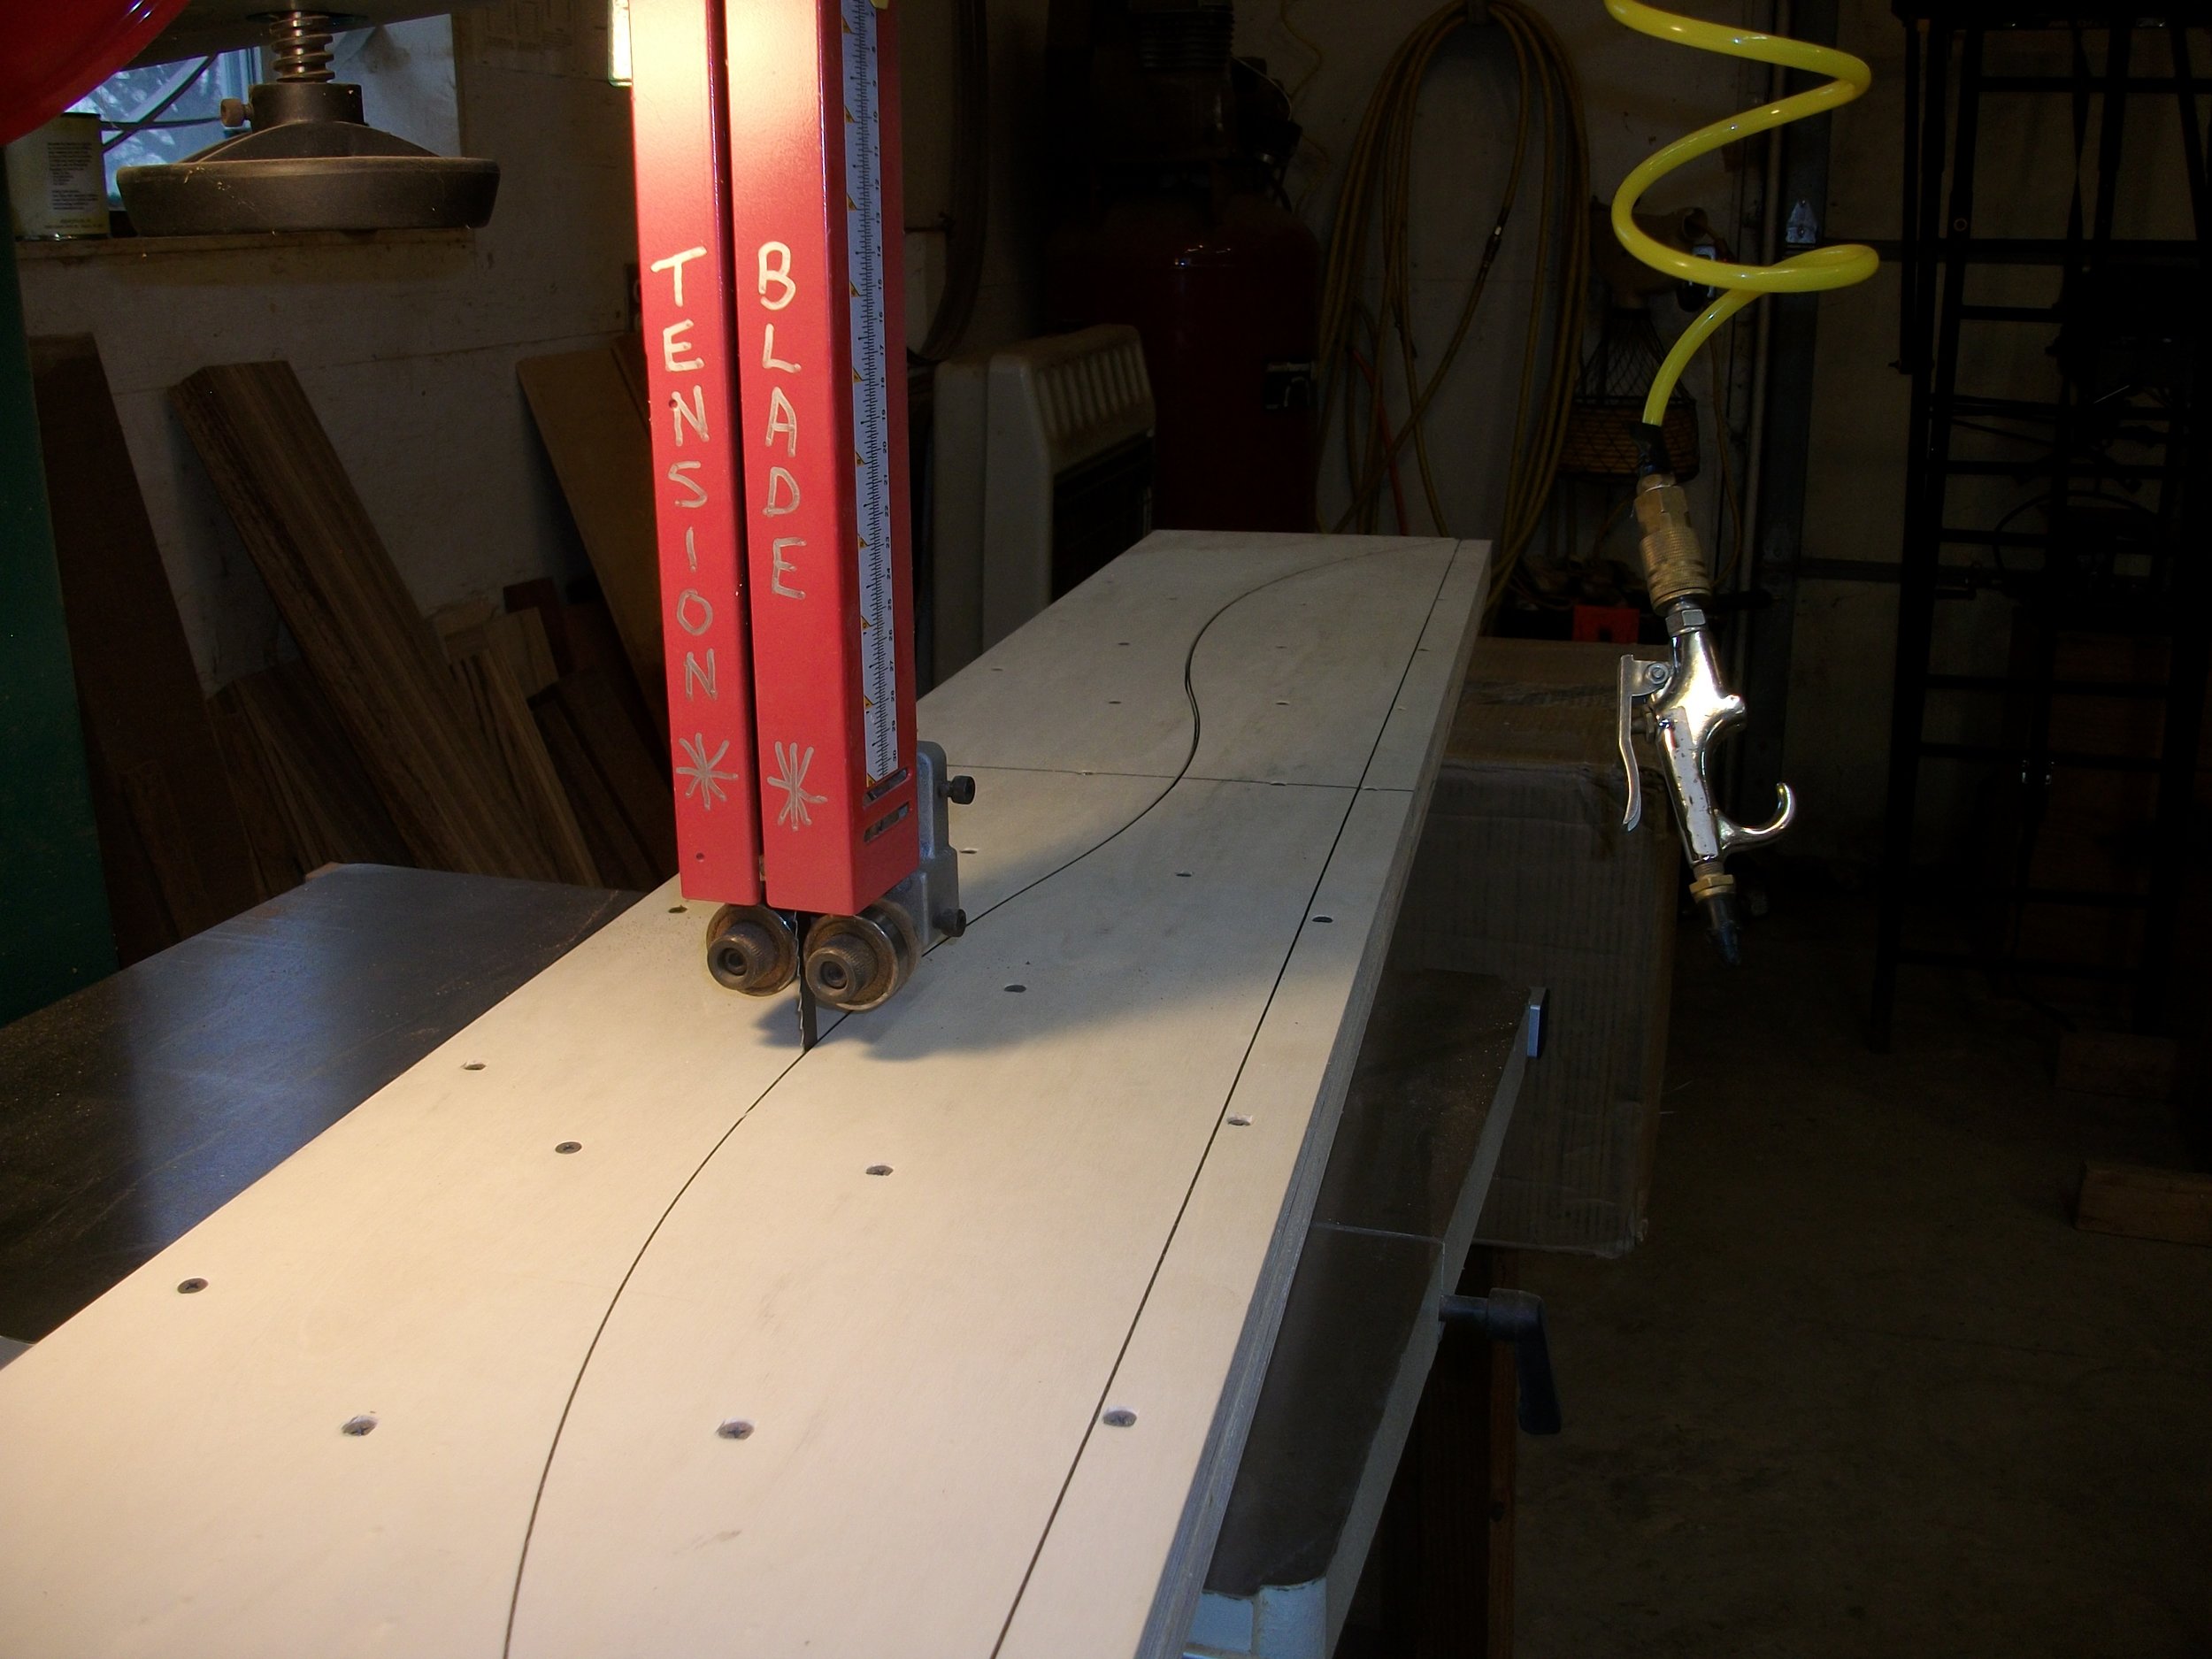
OK here we go, sawing the form in half...
Notice I put something to hold the form up as it comes off saw, if you don't it's hard to stay on line...

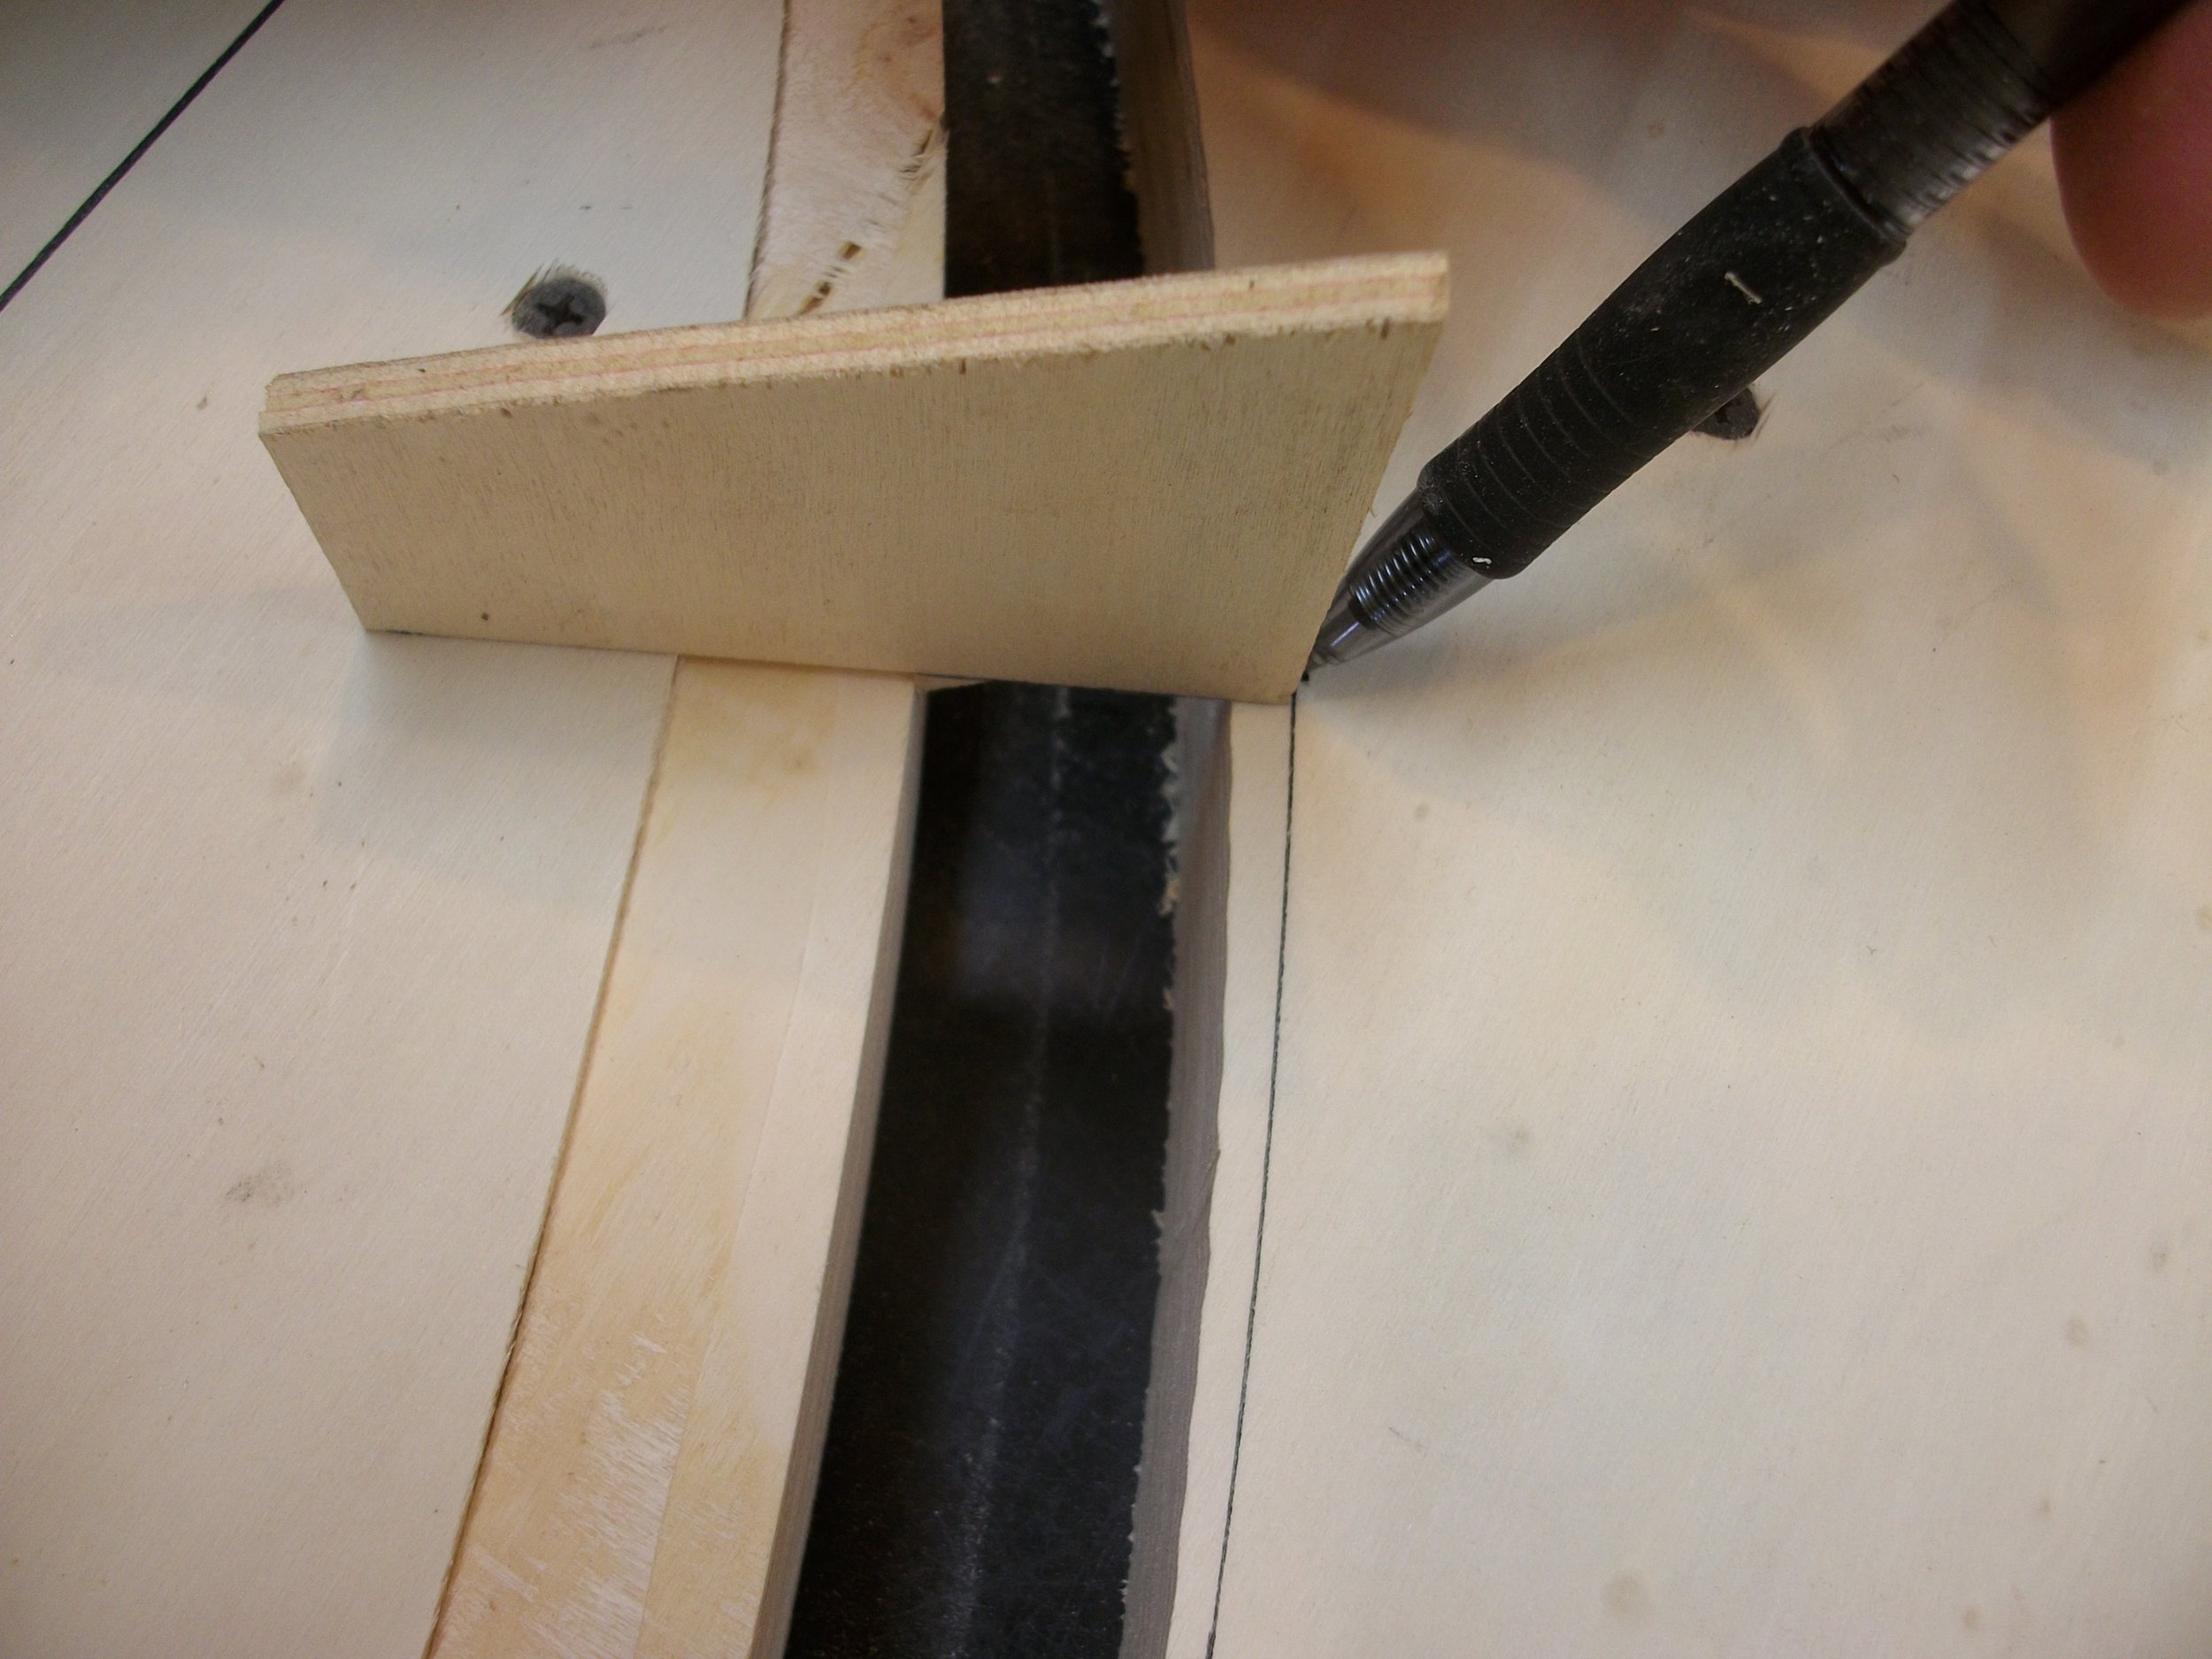
Now line up center and the line with the bottom of template, screw template on form, and check screws to be flush or slightly below...

Clamp the form to something solid, gotta keep it still while routing the profile on her..

Set the router depth so it cuts properly with bearing on template. If your bit won't reach clear thru, no prob, just rout once and then use freshly routed surface as template for lower portion...

I have a curved sanding block same radius as the riser, you can also use it on the limb curves with long smooth strokes...


Now remember the form is too thick, I haven't done it this way before, but it's easier than running it thru the thickness sander a couple dozen times...
I just moved the template down the right amount and used a straight 1/2" cut bit to narrow the edge(s) up to 1.5" ...


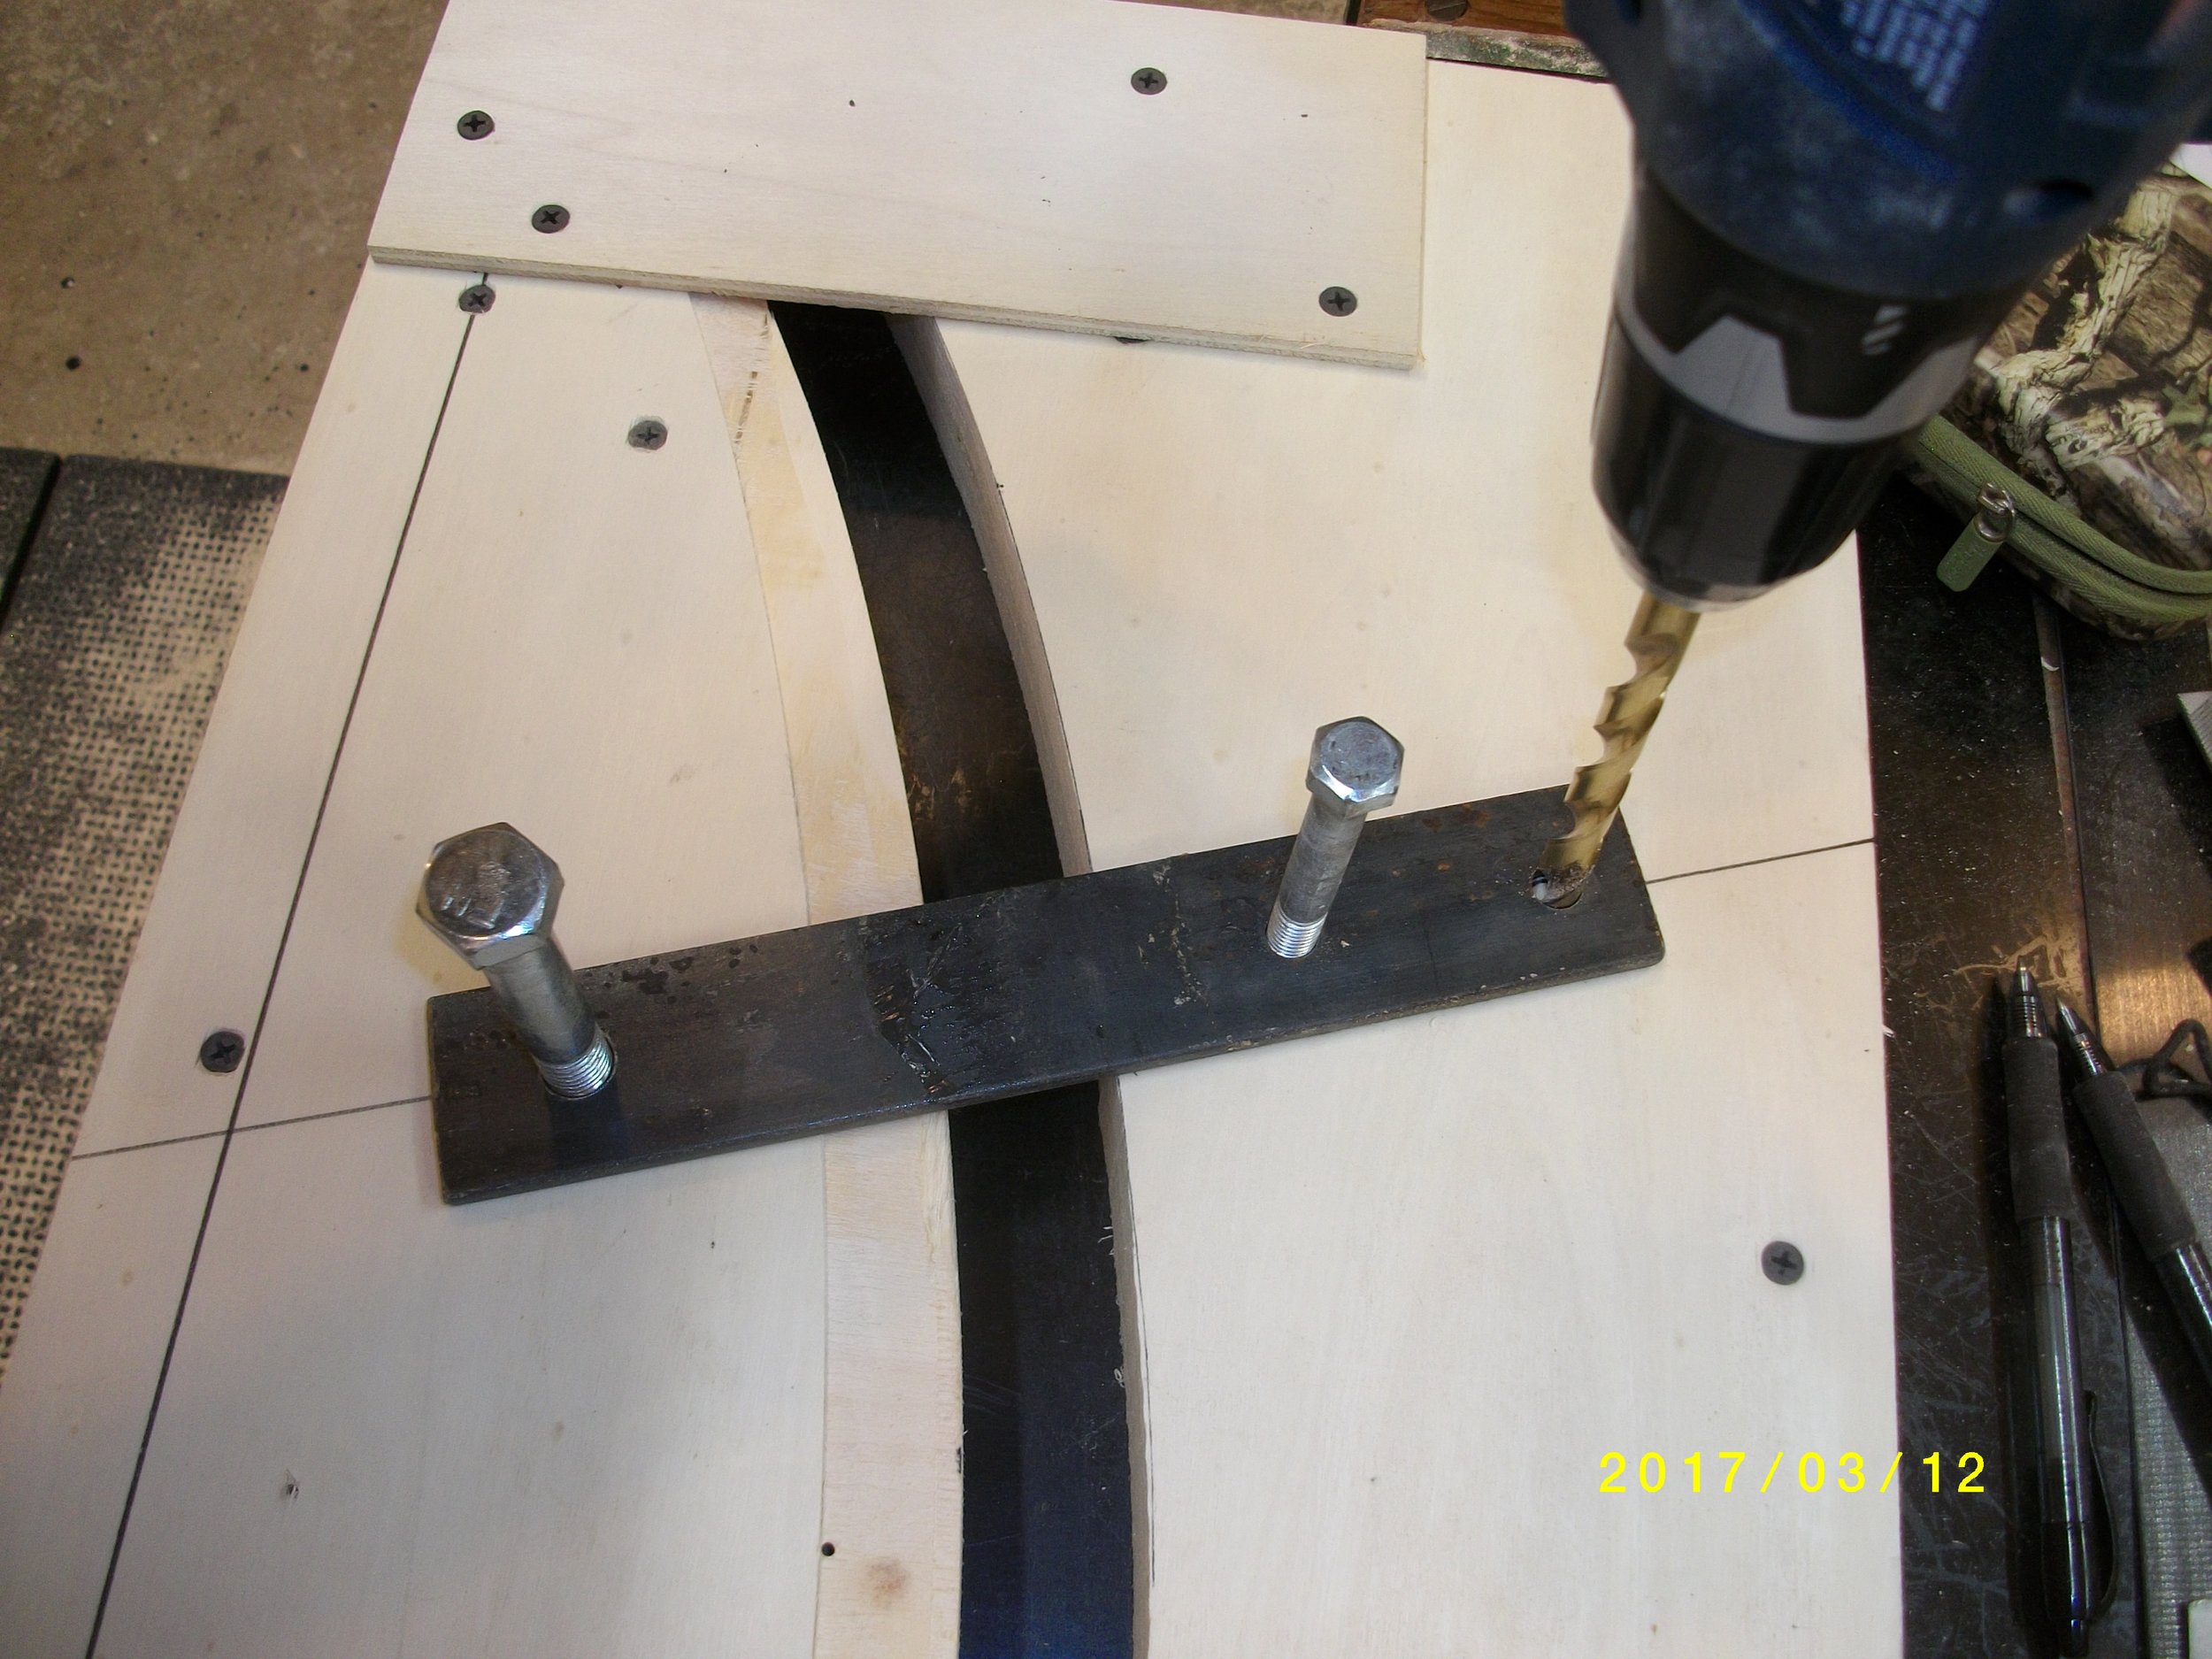
OK, we are ready to space the form and put some hardware on it...
Special spacing tool in action, usually the form will space evenly except on limb ends so I check all the center and get spacing right...

Note the plywood spacer screwed on ends to keep the spacing consistent after getting center part of form to 1.125 "

Then when it starts getting a smaller gap at ends, I mark with the special tool and will cut with bandsaw...
Then lay the riser pattern on and use spacer tool to mark out around it, if you put something right thickness in between form halves to hold the riser pattern up, it really helps......
Now I figured out equal spacing on hardware, making sure I can see ends of riser at bow glue up. I want my hardware square with the portion of limb it is on, so it pulls straight and not pulling top form endwise....
Now lay your hardware where you want it, I made the 1/2" hole 2.5" from face of form. Then I drilled a shallow 1/2" hole .....

Now put the 1/2" bolt in the shallow hole thru the bracket...Then drill the closest 3/8" hole shallow, put a bolt in it and drill the third one shallow....
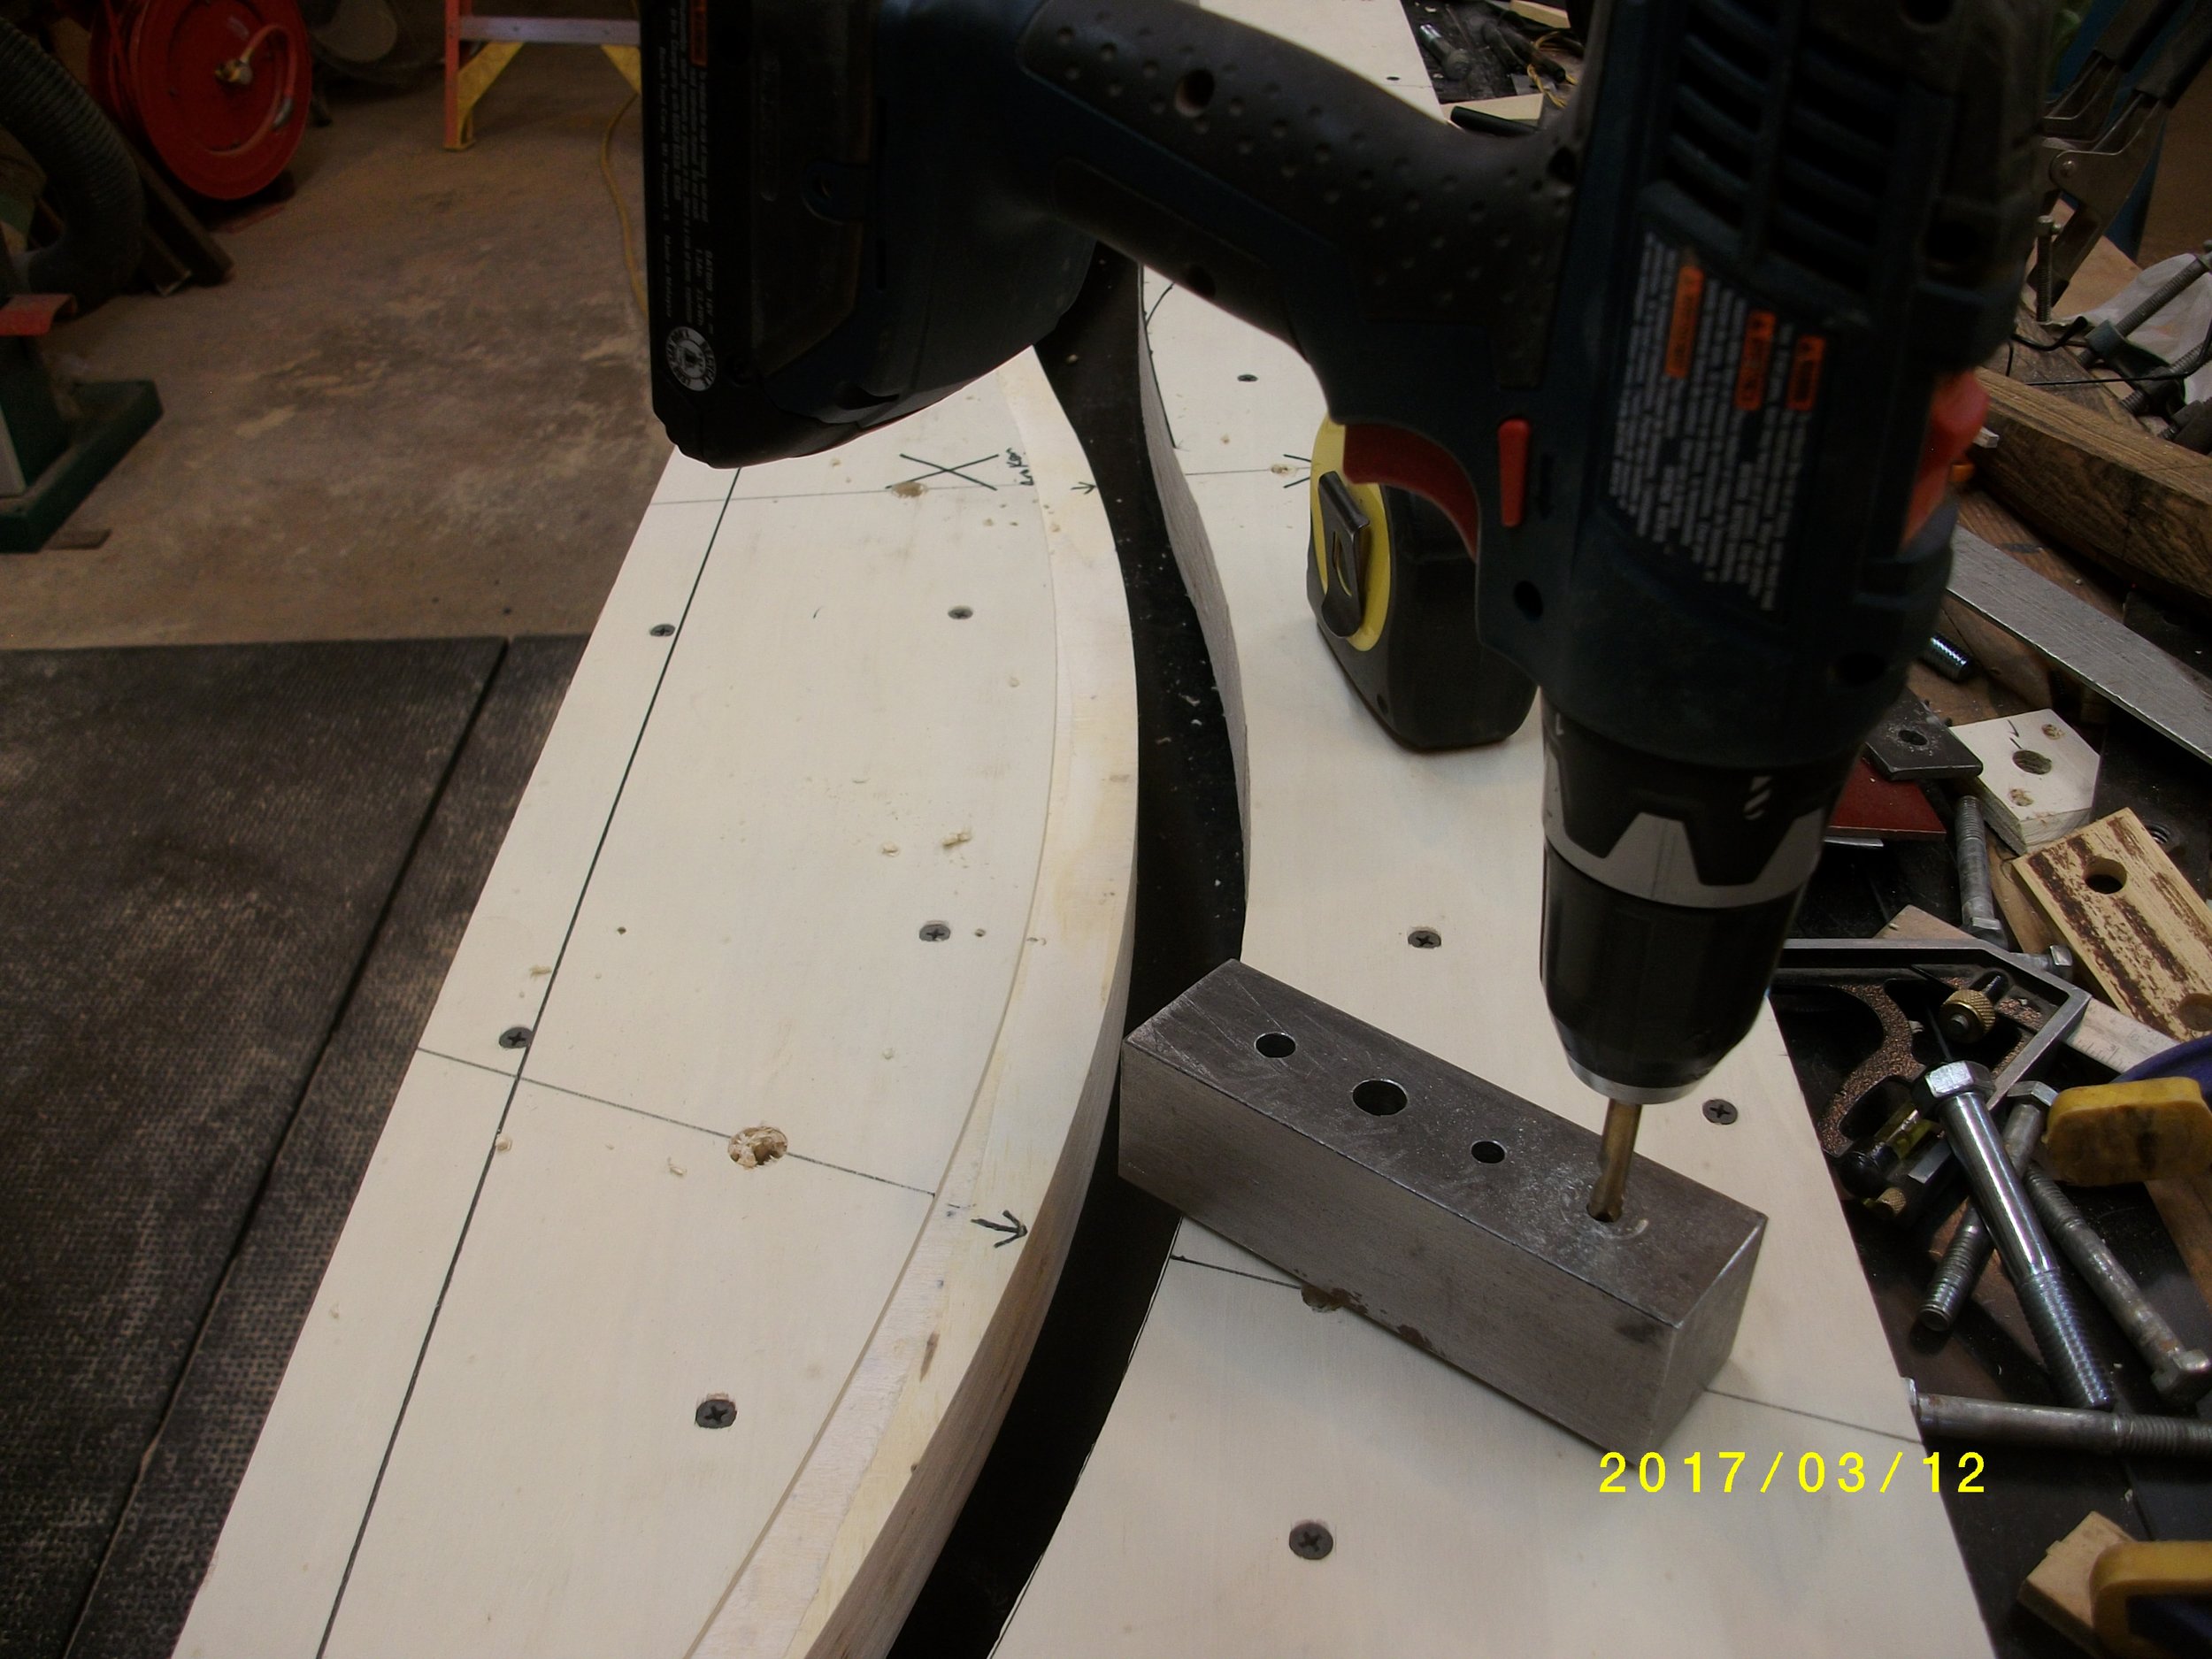
Now to drill the holes square thru the form without lugging to the drill press, I use a drill jig I had made for TD bows, and run the1/4" bit thru it and the form to keep everything squared up. Then drill the holes with the right size bit thru the pilot holes.
Holes all drilled and ready to put hardware on. You should keep hardware in pairs and keep together in case they are a little different like mine. When I make them, I drill 2 at a time for pairs...

Now bolt your hardware on and take off the temporary plywood on ends of form and there she is!!

NOTE !!! Put 1/2" shims under hardwareto give air hose clearance.
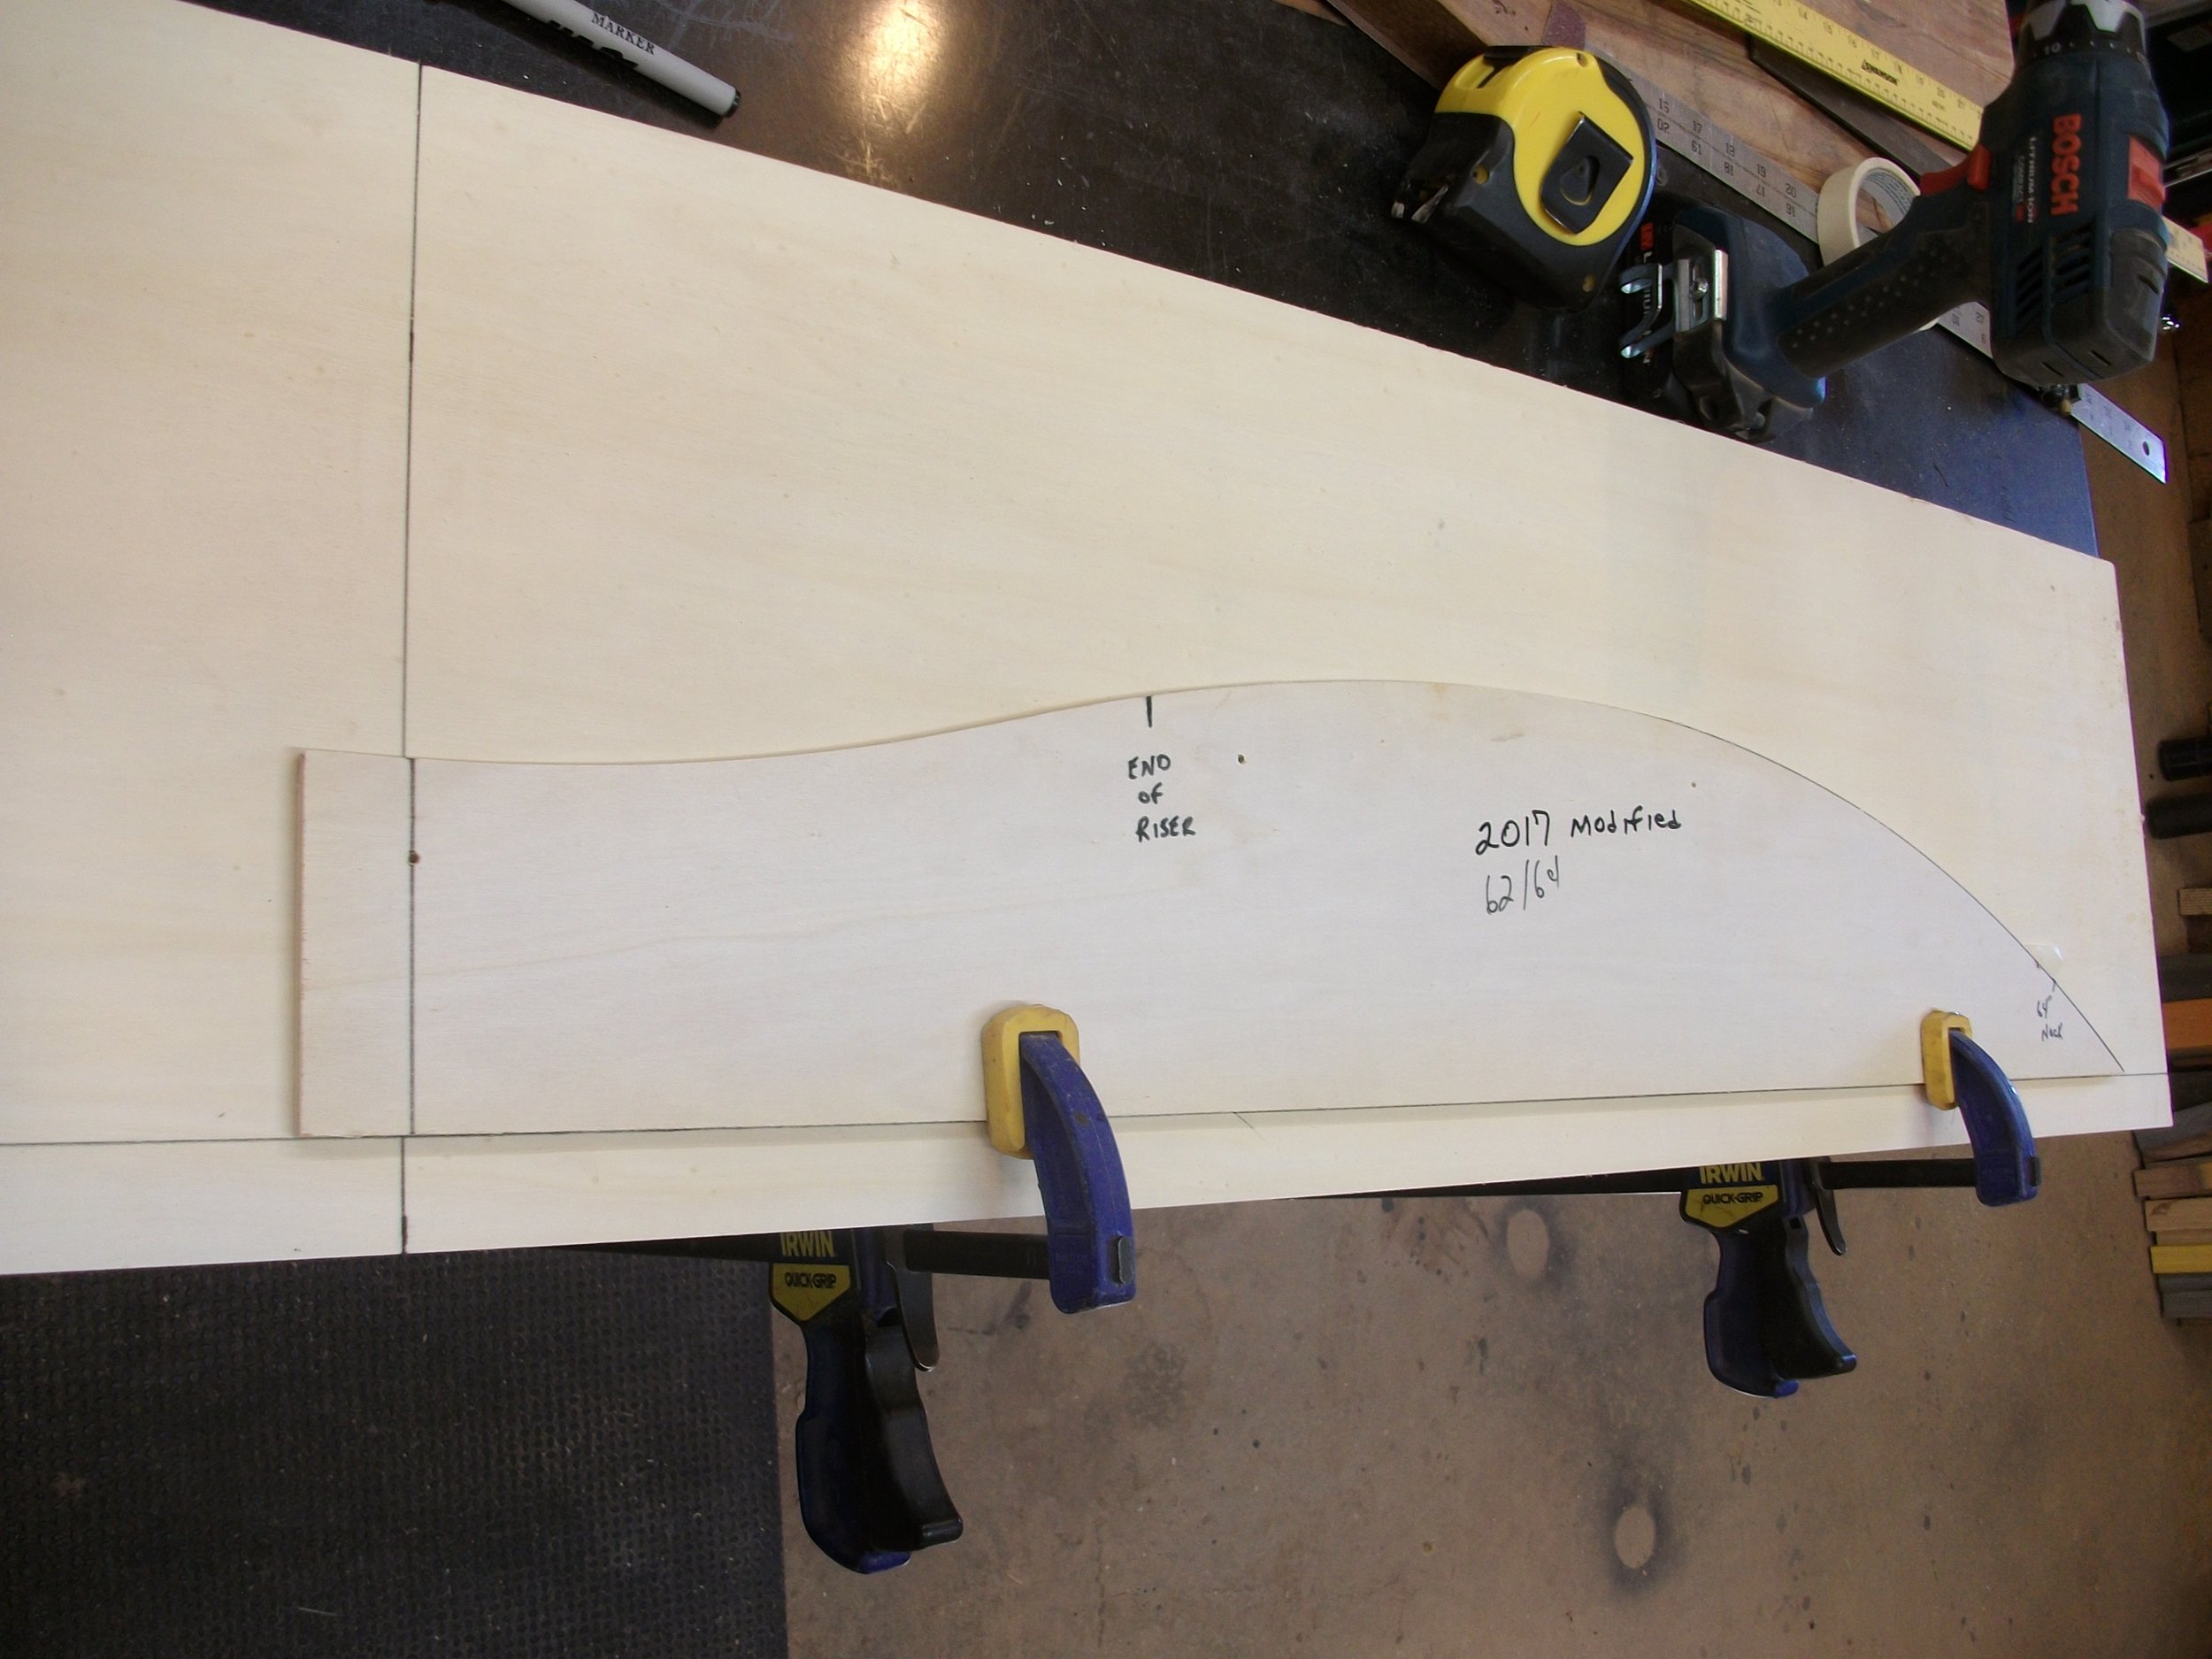
AND-- I changed the riser a bit on this one, that's why the riser shape is not cut out.